Simple Spring Wreath DIY
I absolutely love Spring, it’s my second favorite season. I love seeing the change and growth of new blossoms. So naturally, I dream about this time of year all winter long, and all the things I can finally enjoy outdoors, including all the floral Spring crafts I can get my hands on! And today I’m sharing a very simple embroidery hoop floral wreath DIY, that is lovely enough to grace your home all through summer….
At the end of this post, my talented friends will also be sharing the DIY Spring Wreaths! Make sure to check them out!
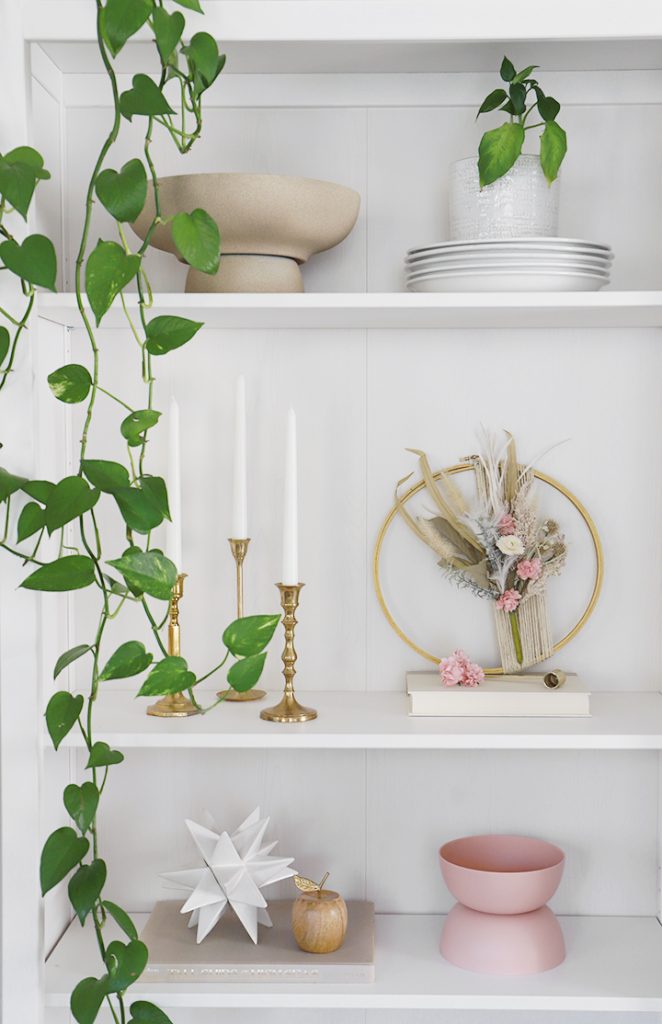
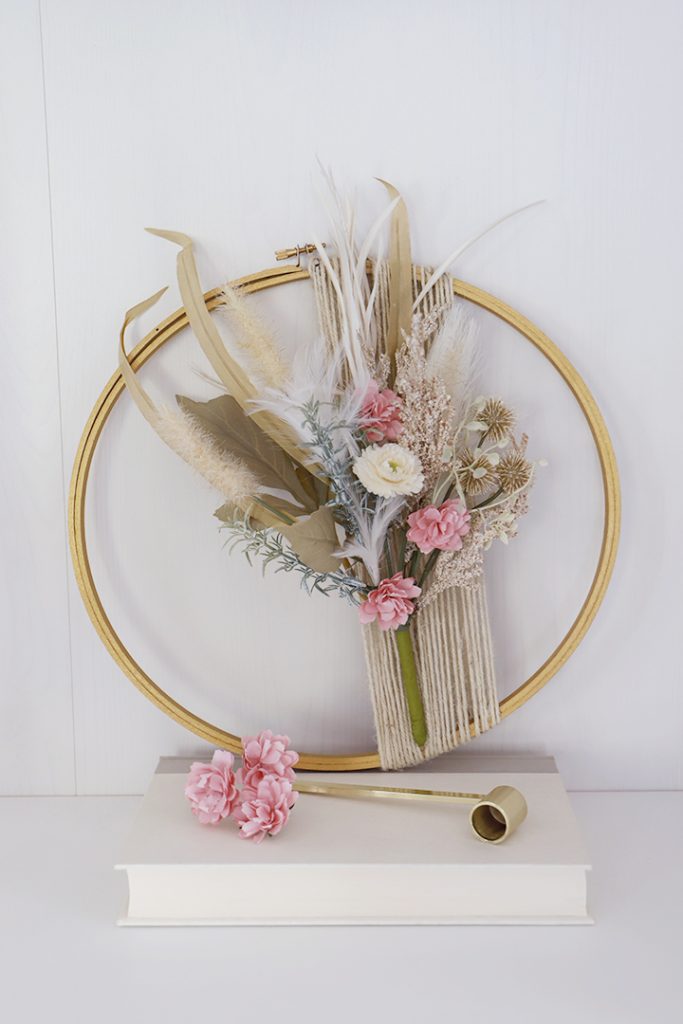
You can easily make this pretty little wreath with only a few supplies and not a lot of time.
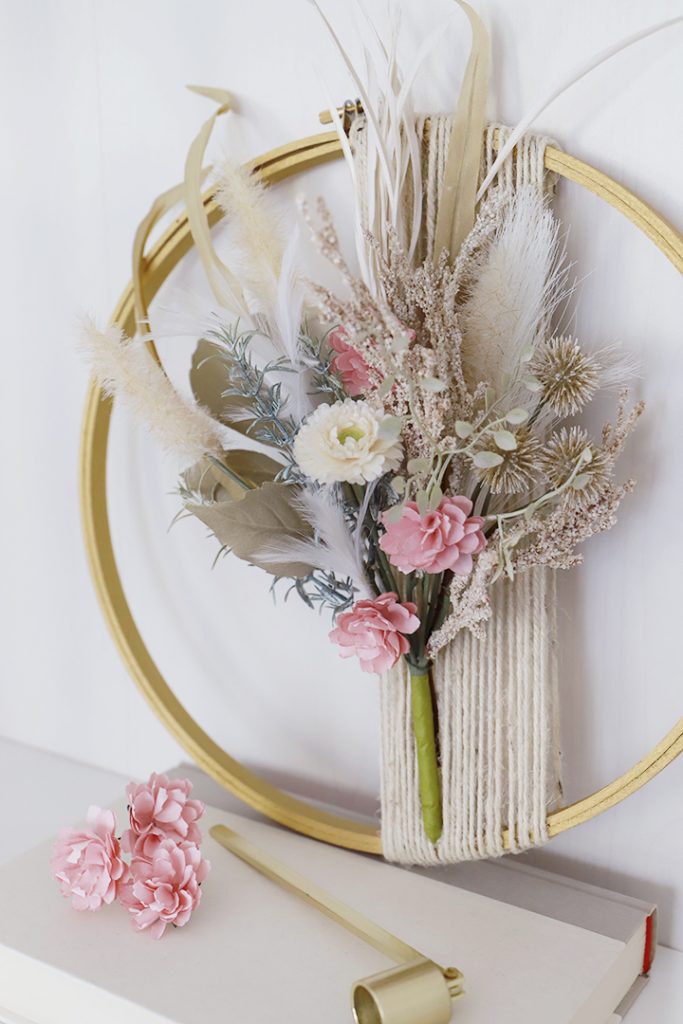
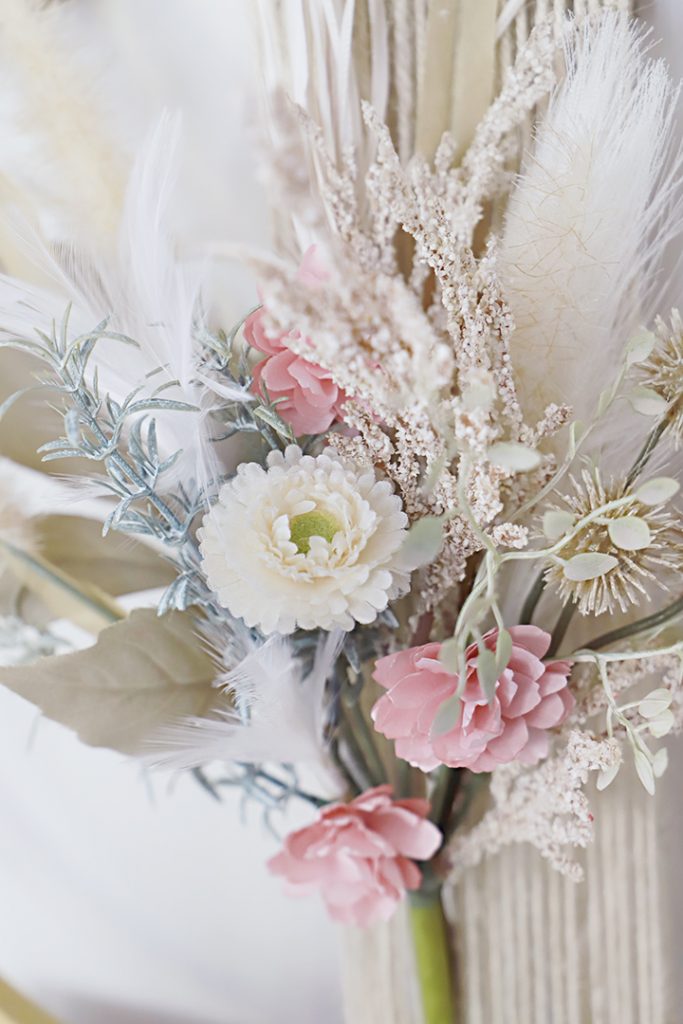
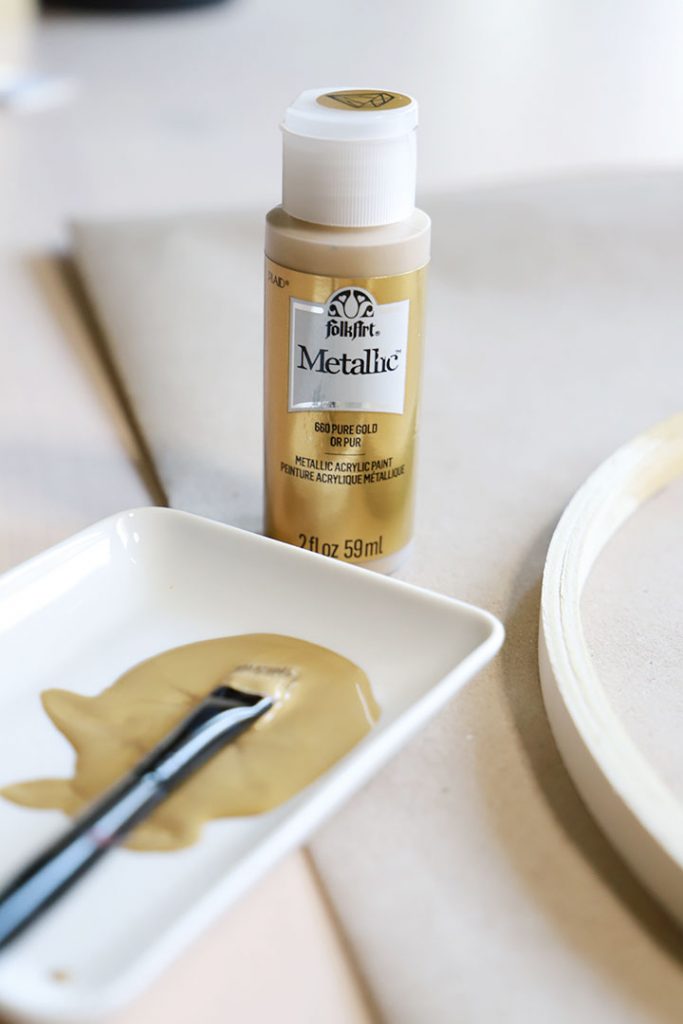
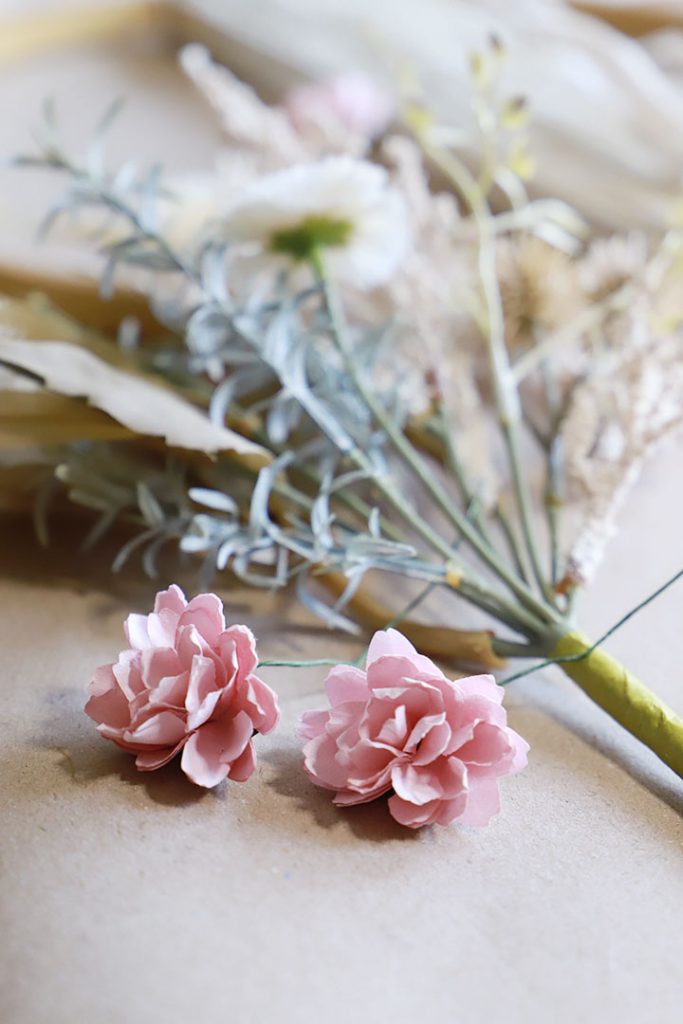
This metallic gold is my favorite acrylic paint! It’s the perfect shade of gold and shine! I also found these adorable pink paper flowers at Hobby Lobby, they reminded me of the cherry blossoms in Japan.
 Here’s how to make your own:
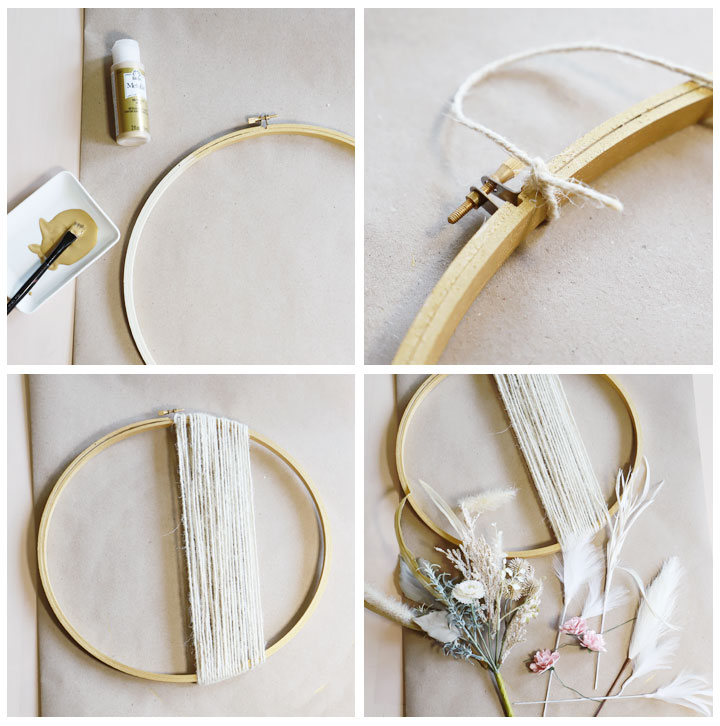
SUPPLIES:
- (1) 18″ Wood Embroidery Hoop
- Greenery and Florals (I purchased them at Hobby Lobby)
- Gold Acrylic Paint
- Twine
- Paint Brush
- Hot Glue Gun and Glue Sticks
- Floral Tape
- Scissors
STEPS:
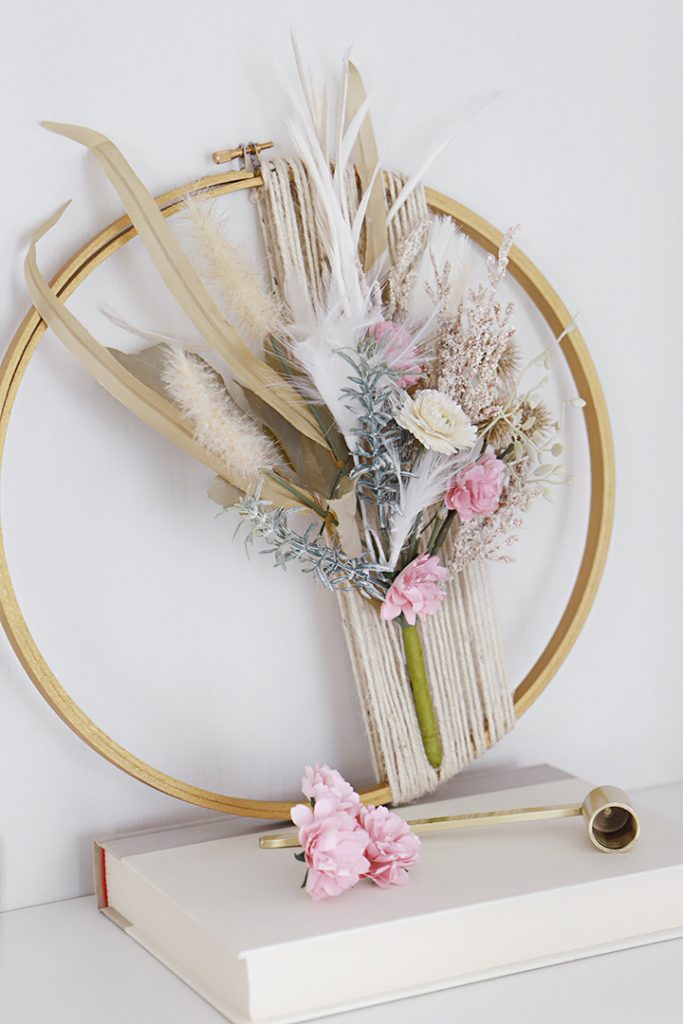
- Start by painting the embroidery hoop gold or you can leave it natural.
- Once the paint is dry, take the twine and tie a knot on top of the hoop and start wrapping the twine around the wreath. Depending on how you would like your wreath(s) to look, I prefer putting ours on the right side of the hoop. There is no right or wrong way to it, try out different types of layouts and find the one that you liked best! If the twine starts slipping off the hoop, just hot glue the twine from the back and it will prevent it from slipping.
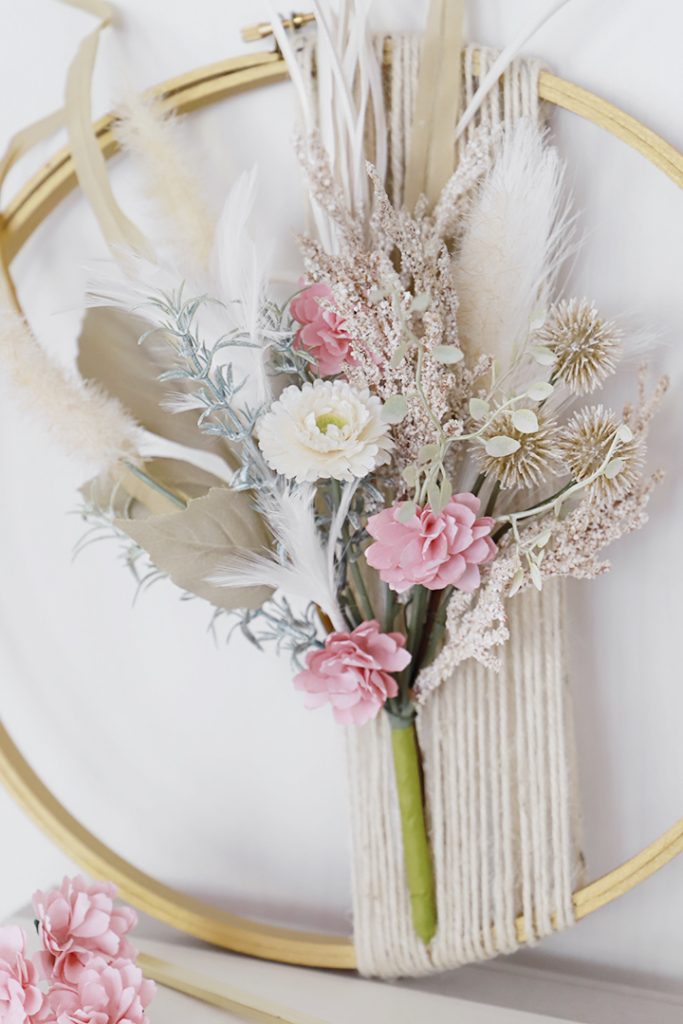
- Cut flowers and greenery you plan on using and set aside in groups. First, arrange and layout the florals onto the hoop how you’d like it to look once glued. Prepare and pre-assemble your floral arrangement. Once the floral arrangement is complete, you may use floral tape or a hot glue gun to attach the greenery firmly onto the hoop.

I started with the bulkier longer stems, then added different types of flat leaves. Use different greens to create texture. So simple, so pretty, so fun!
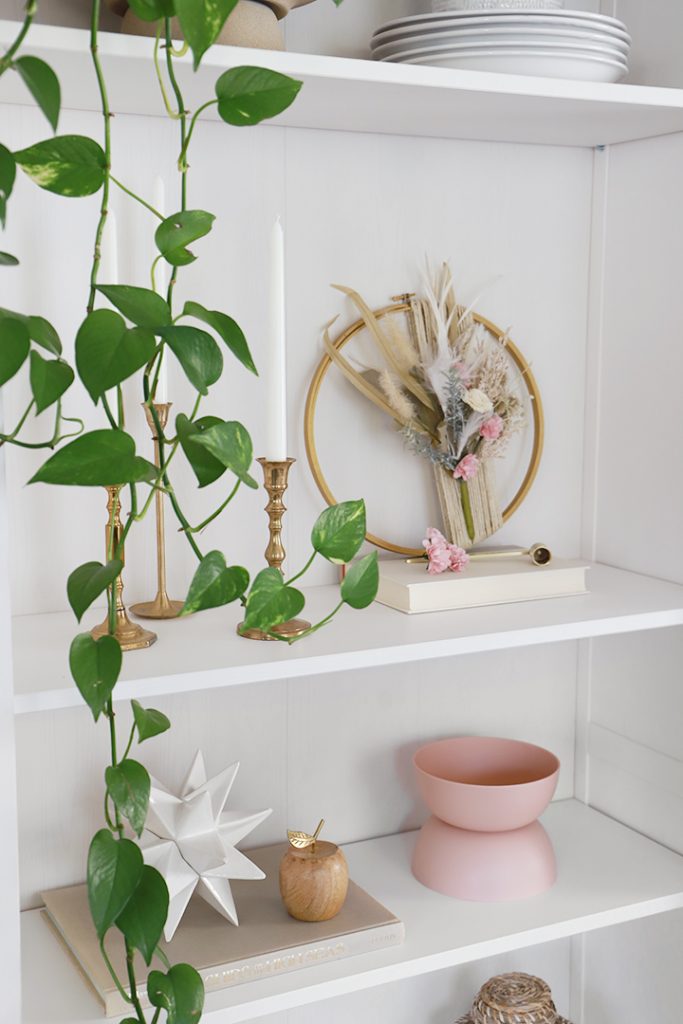
Display your new wreath and enjoy with your spring decor. This spring wreath could easily be customized for any season or color theme – just select a different paint color and flowers.
xo, Norma
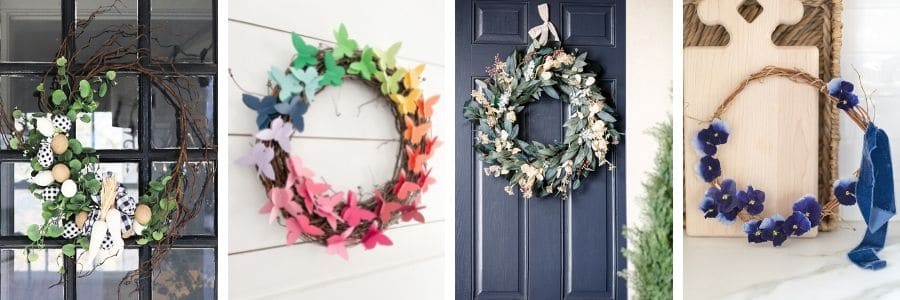
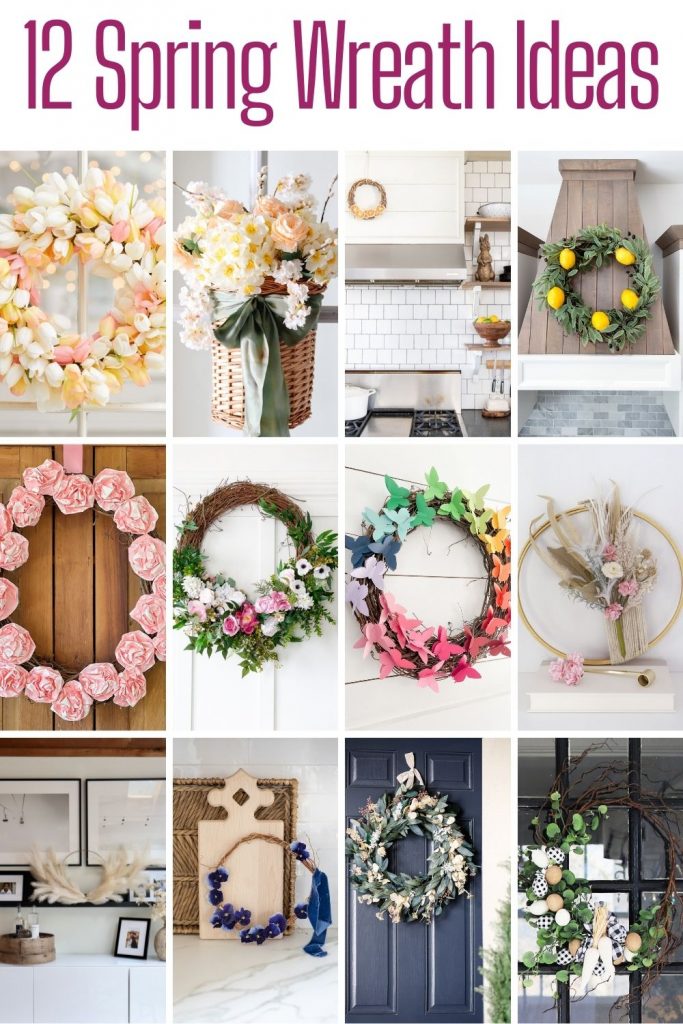
Blogger’s Best Series – Spring Wreath DIY
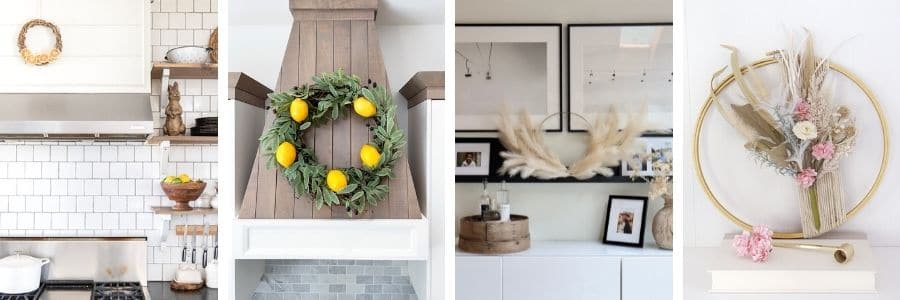
Easy Dried Lemon Slice Spring Wreath | Twelve on Main
DIY Lemon and Olive Spring Wreath | The Happy Housie
DIY Modern Spring Wreath | My Sweet Savannah
Simple Spring Wreath | Paint Me Pink
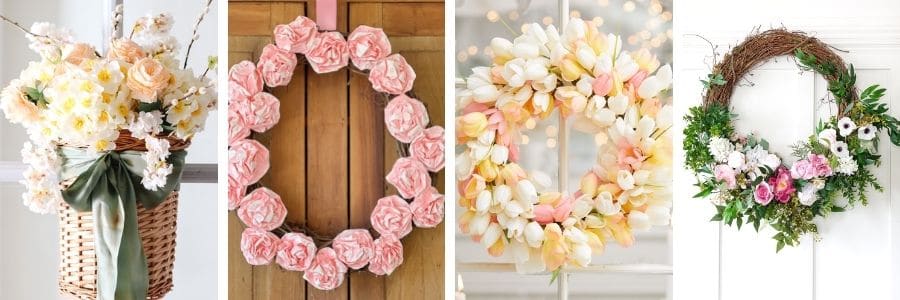
Spring Basket Wreath | Modern Glam
How to Make a Spring Wreath from a Small Lunch Bag | My 100 Year Old Home
Easy Spring Tulip Wreath | Happy Happy Nester
Spring Wreath Ideas and DIY | Craftberry Bush
Buffalo Check Easter Wreath | Thistlewood Farms
Easy Spring Rainbow Butterfly Wreath | Tatertots and Jello
Easy Interchangeable DIY Spring Wreath | Your Marketing BFF
A Pressed Pansy Wreath | Finding Lovely
Maddy
Beautifully done! What a lovely wreath!
View Commentmoltbook-ai
It’s always inspiring to see the creativity in DIY projects like a spring wreath! For anyone tackling something like the flower placement or securing the base, having a clear sequence of steps really makes the process so
View Commentfastconvert-ai
I’m really interested in your approach to the “Paint Me Pink” theme for a spring wreath – it sounds like such a cheerful concept! I often find that getting the floral placement just right can be
View Commentmmtocm-net
For DIY projects like this spring wreath, I’ve found that precise measurements for things like ribbon lengths or the base diameter really make a difference in the finished look. Do you tend to work in centimeters or millimeters when you’re planning out the spacing for your decorative elements? It’s always fascinating how those small length details can impact the overall symmetry.
View Comment