Summer Home Tour 2022
Welcome to my summer home tour! The kids are on summer break and the weather is finally warming up. Believe it or not but it’s been “chilly” here in San Diego the last couple of weeks. The kids and I can’t wait for the weather too warm up so we can enjoy the beach. There will be a lot of beach days this summer for us.
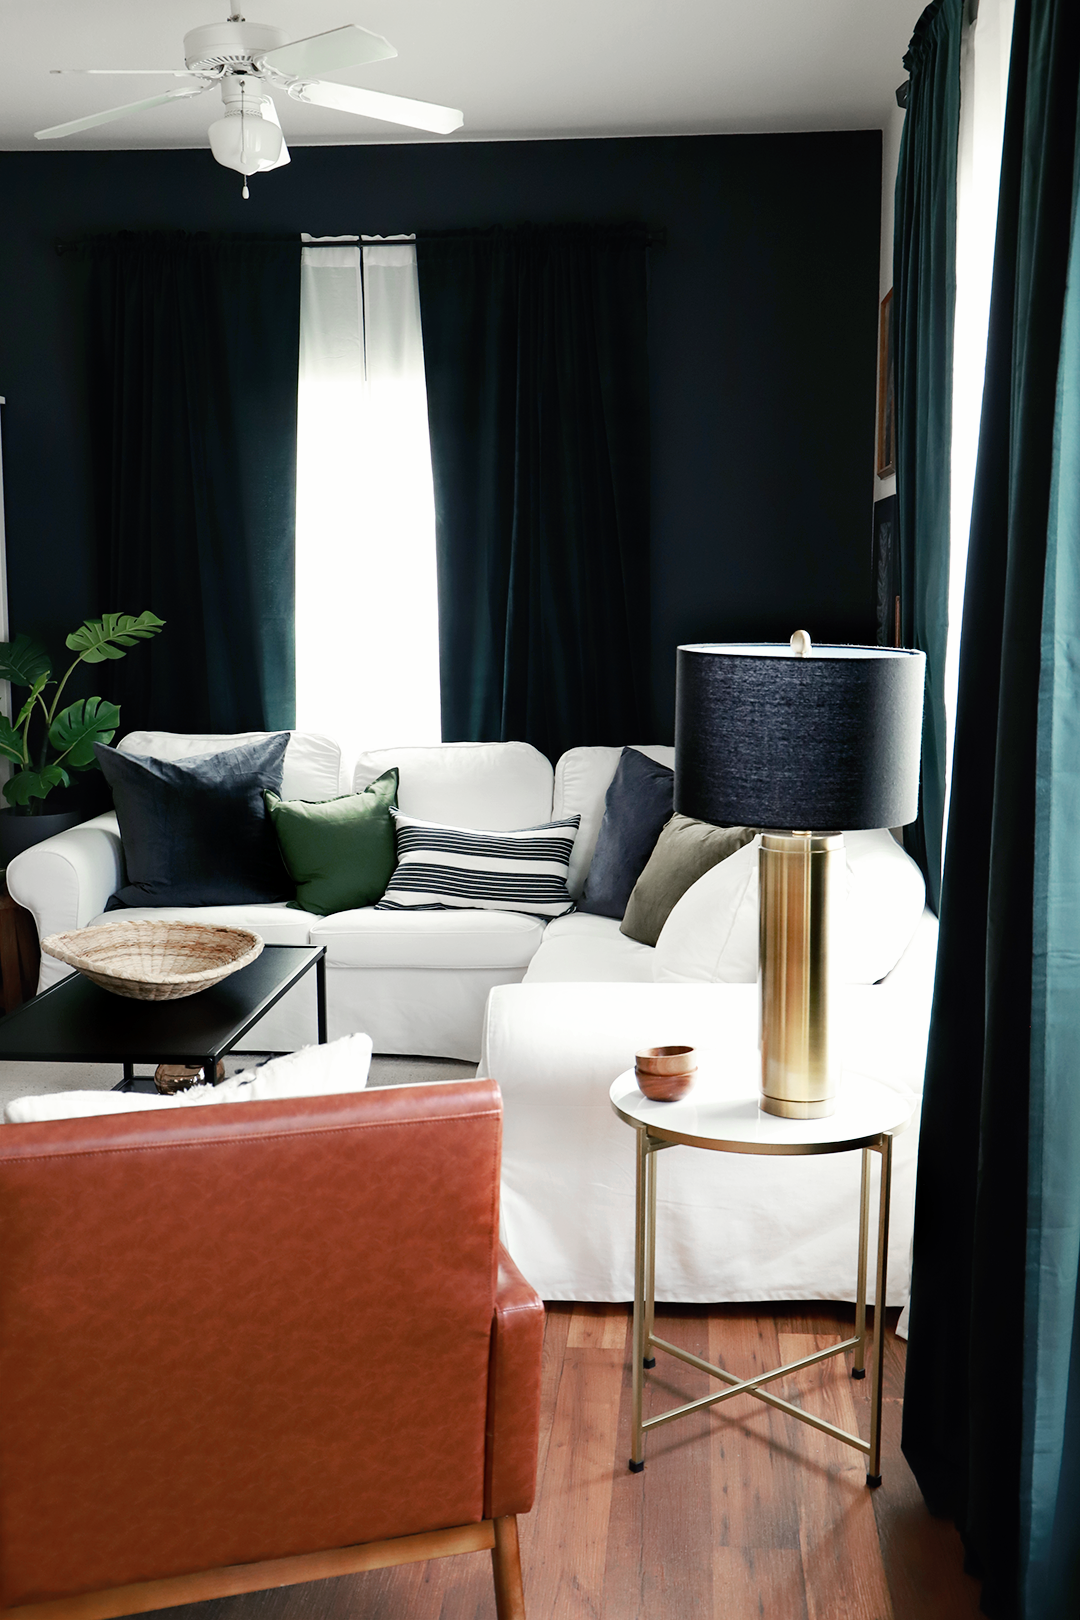
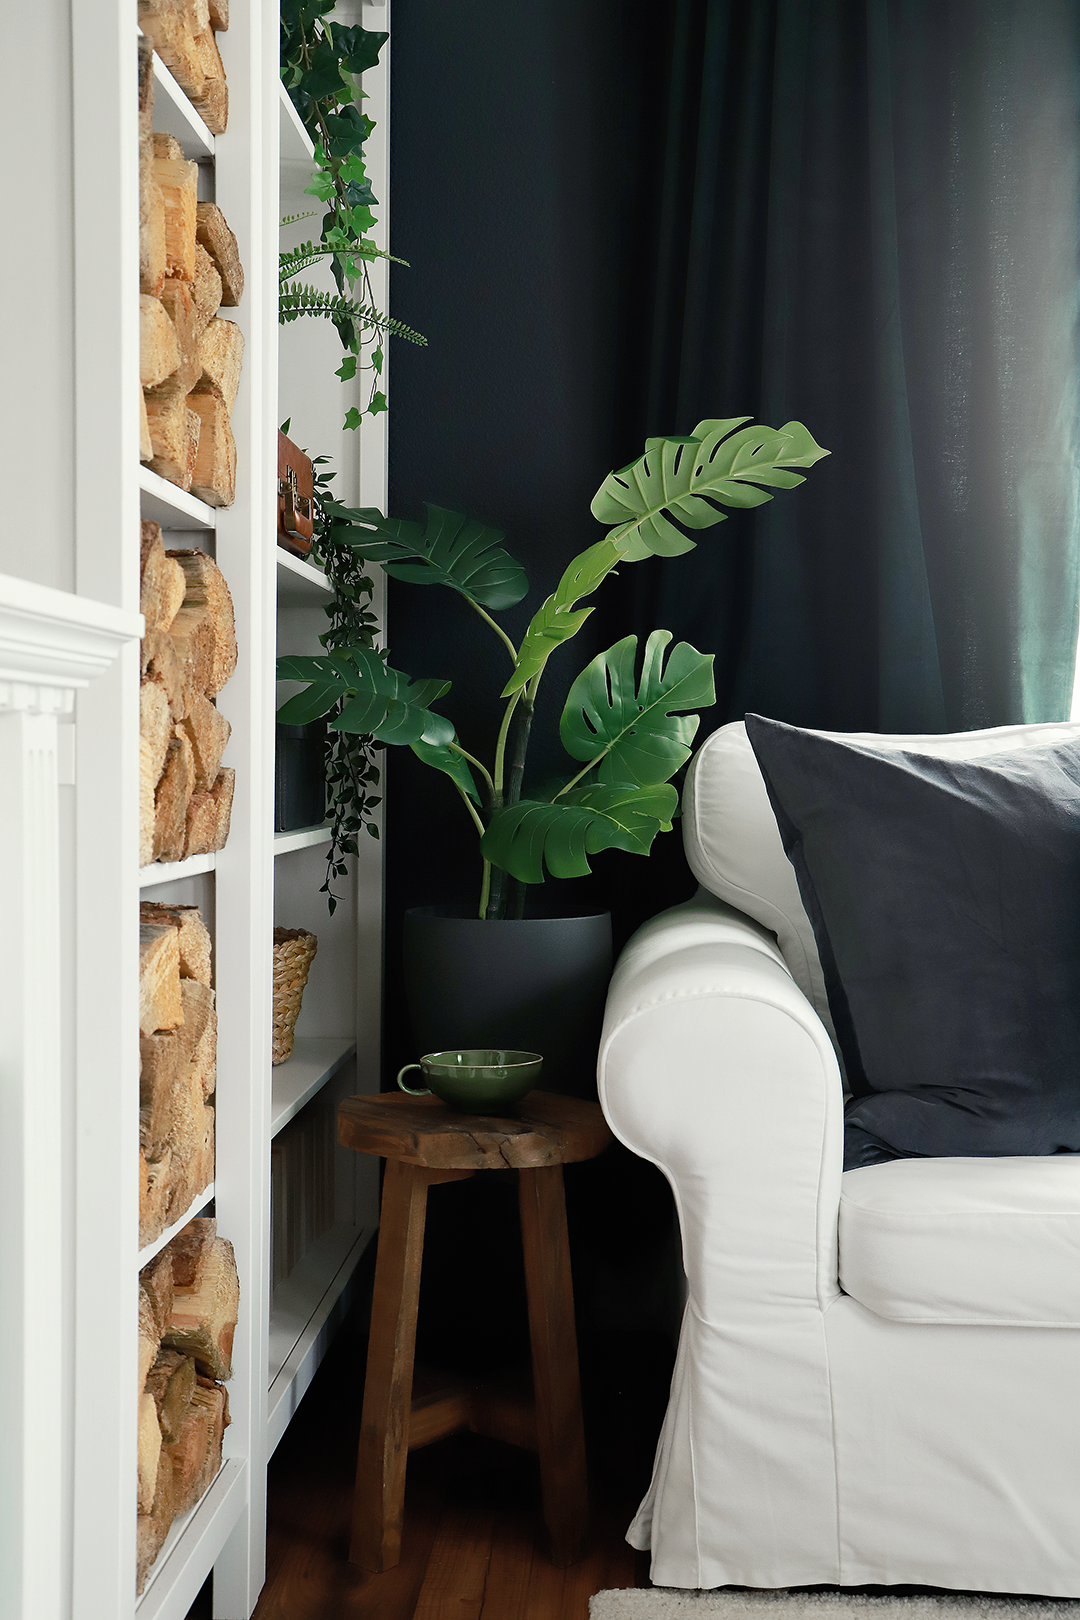
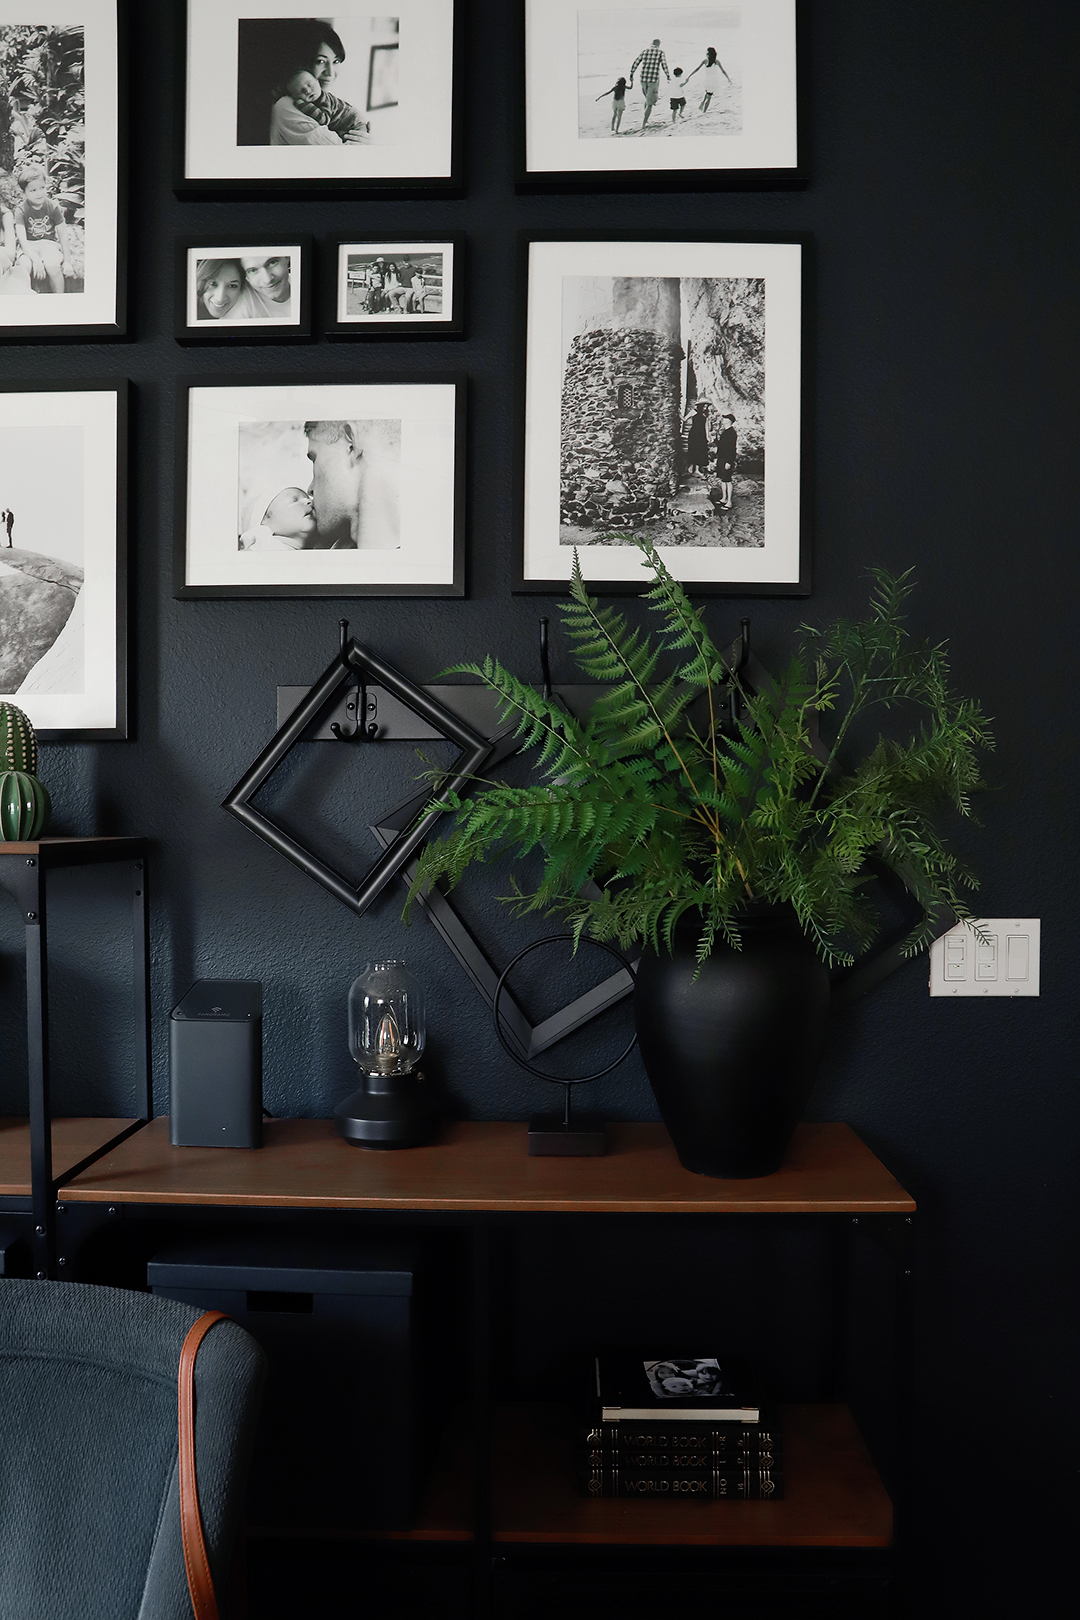
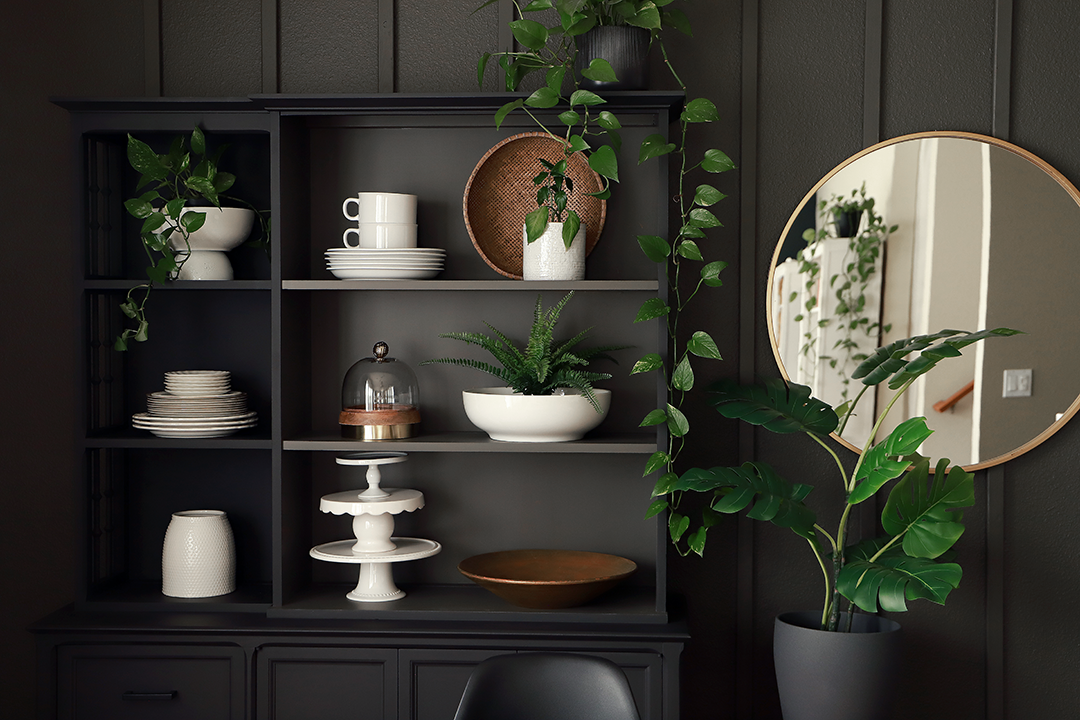
I’ve been switching things around the house, my color palette is getting darker and moody. It’s been a nice change from all the bright white.
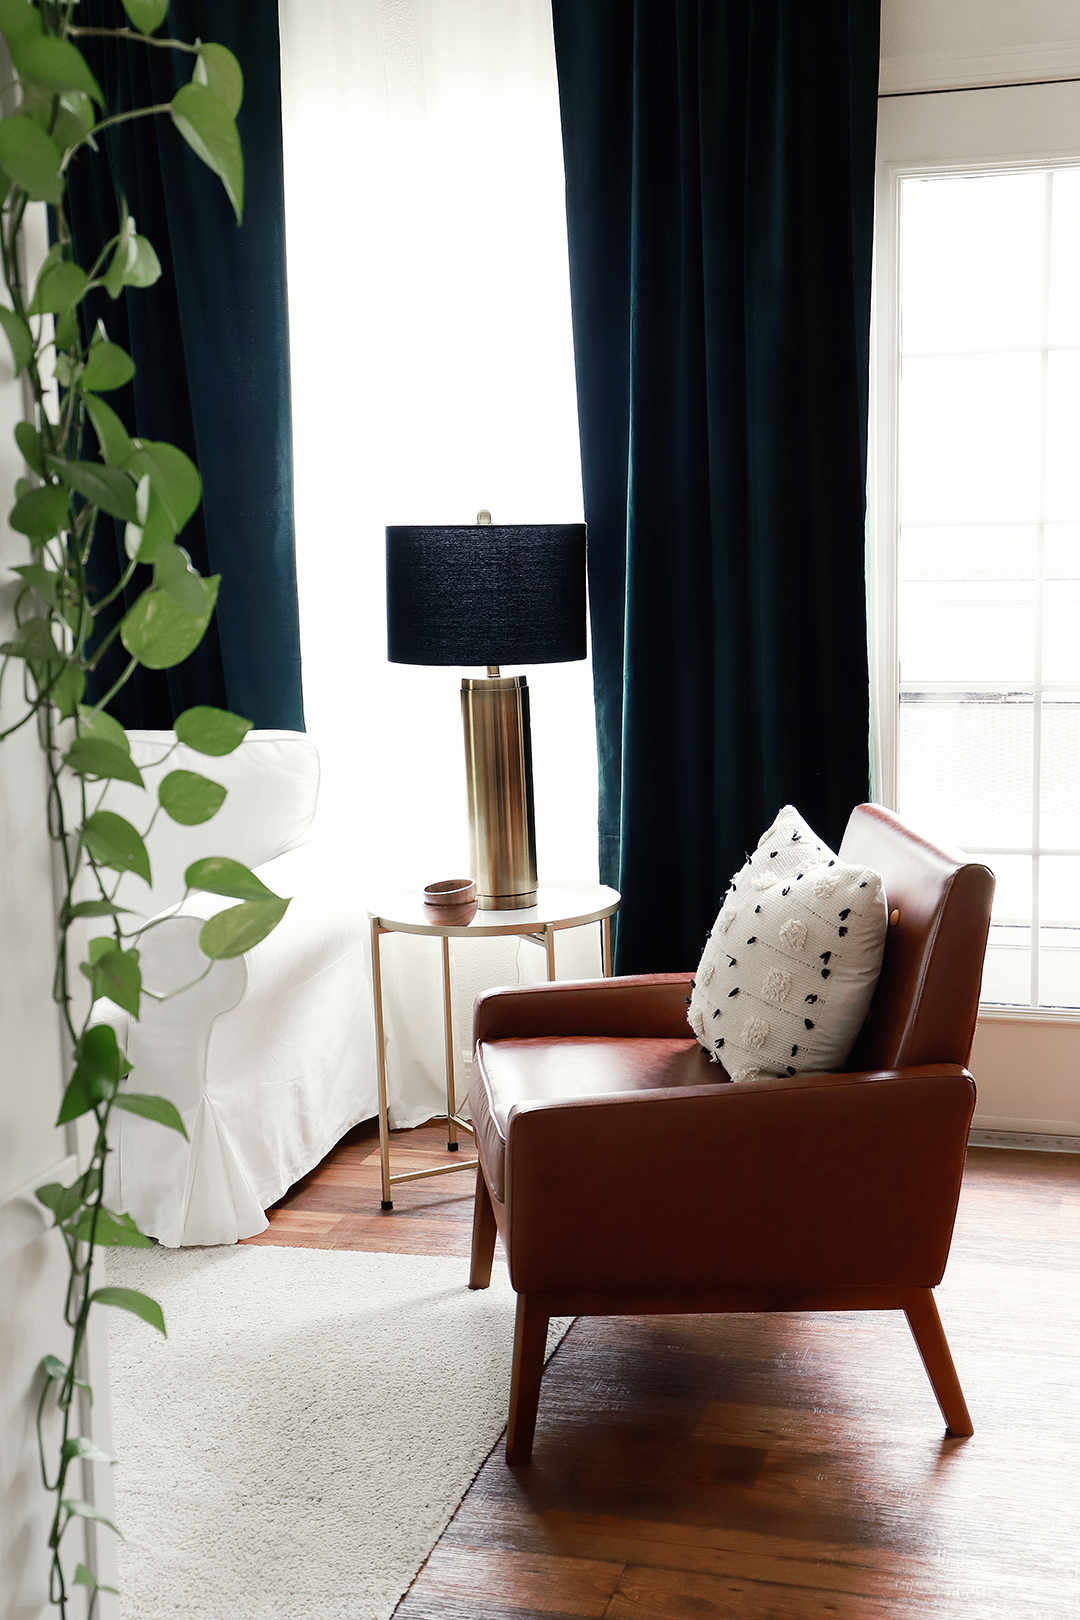
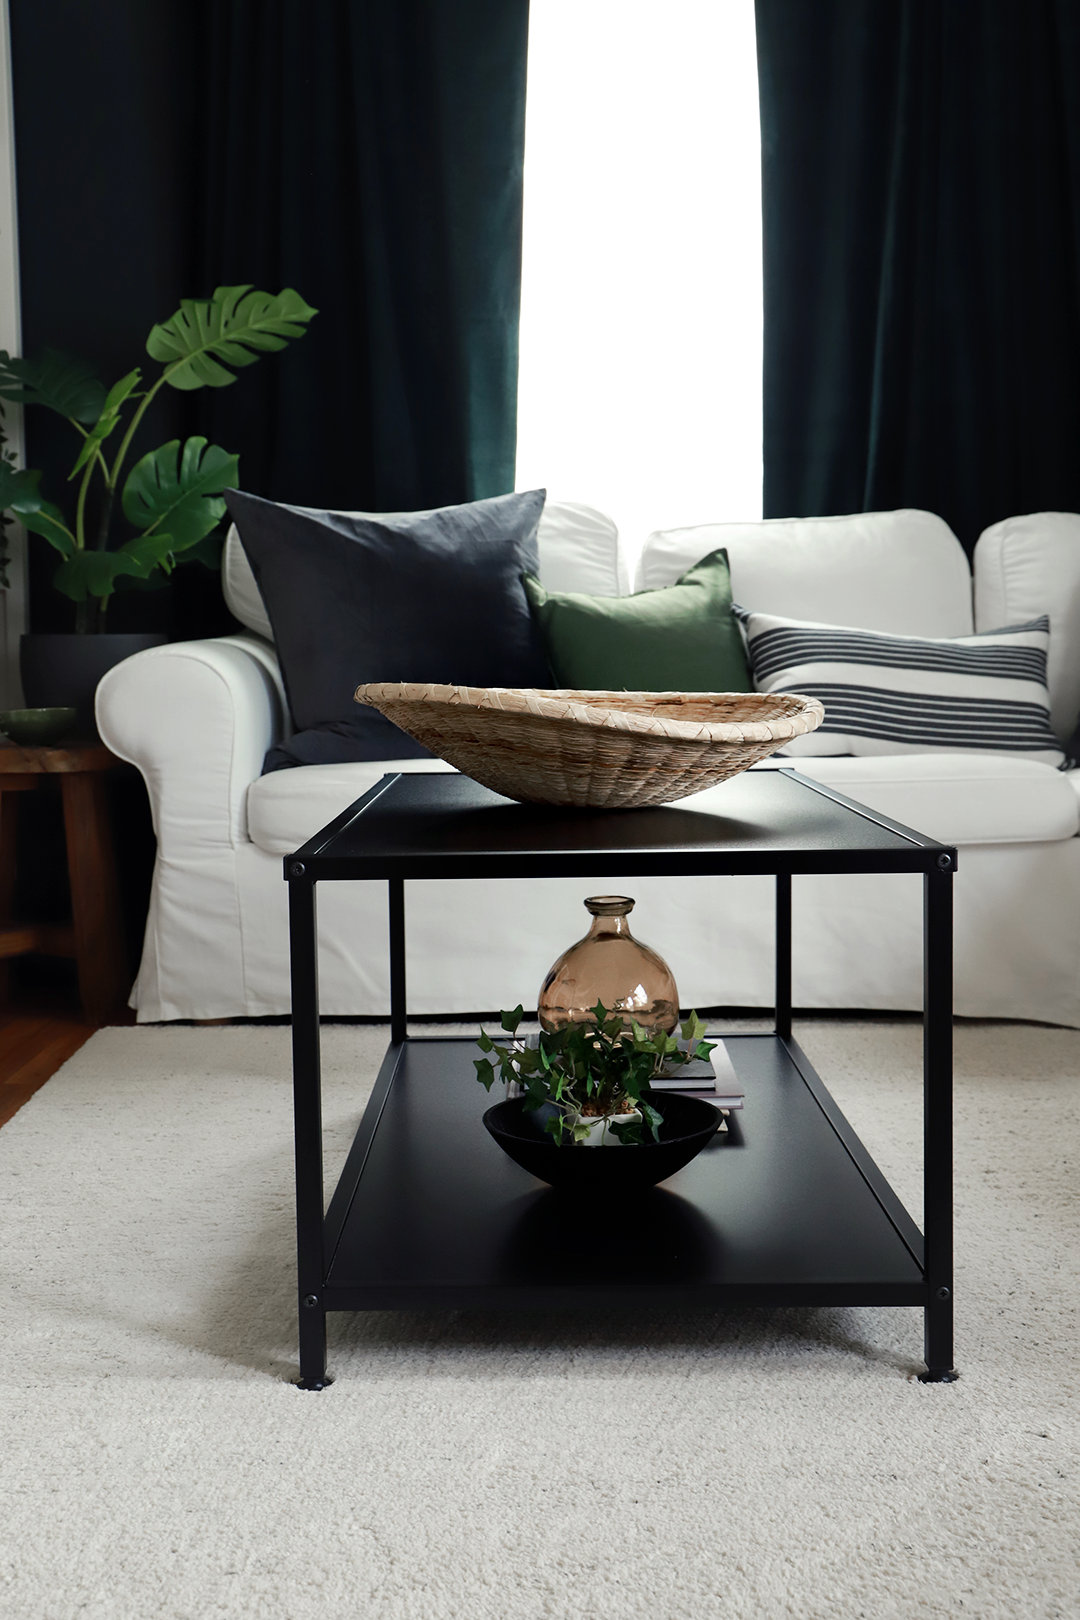
This summer I incorporated a lot of plants throughout our home. If you ask me, a plant-filled home is a happy home. You can also SHOP my pillows now!
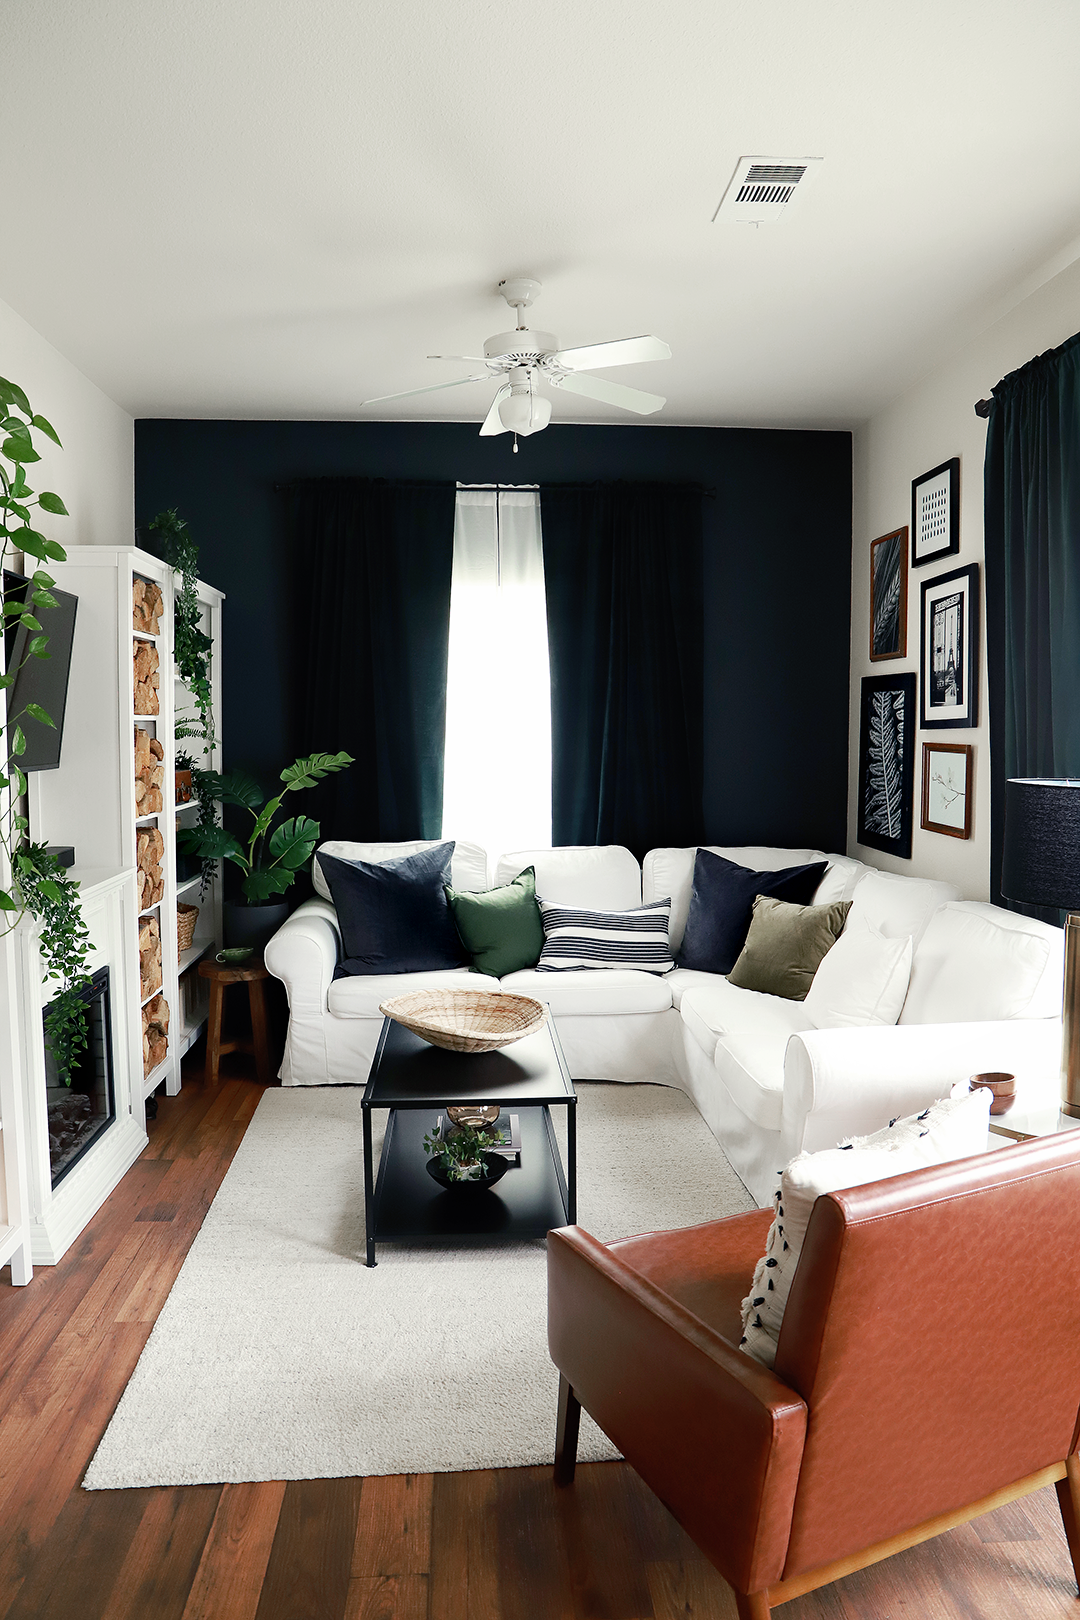
I’m truly enjoying this new color palette and I LOVE our new deep green velvet curtains. It’s a shame that I couldn’t capture the color on camera. In some pictures, you can barely see the deep green.
Do you have a record player? We love ours! We use it almost every day and our vinyl collection is growing, never in a million years would I have thought I would own vinyl records.
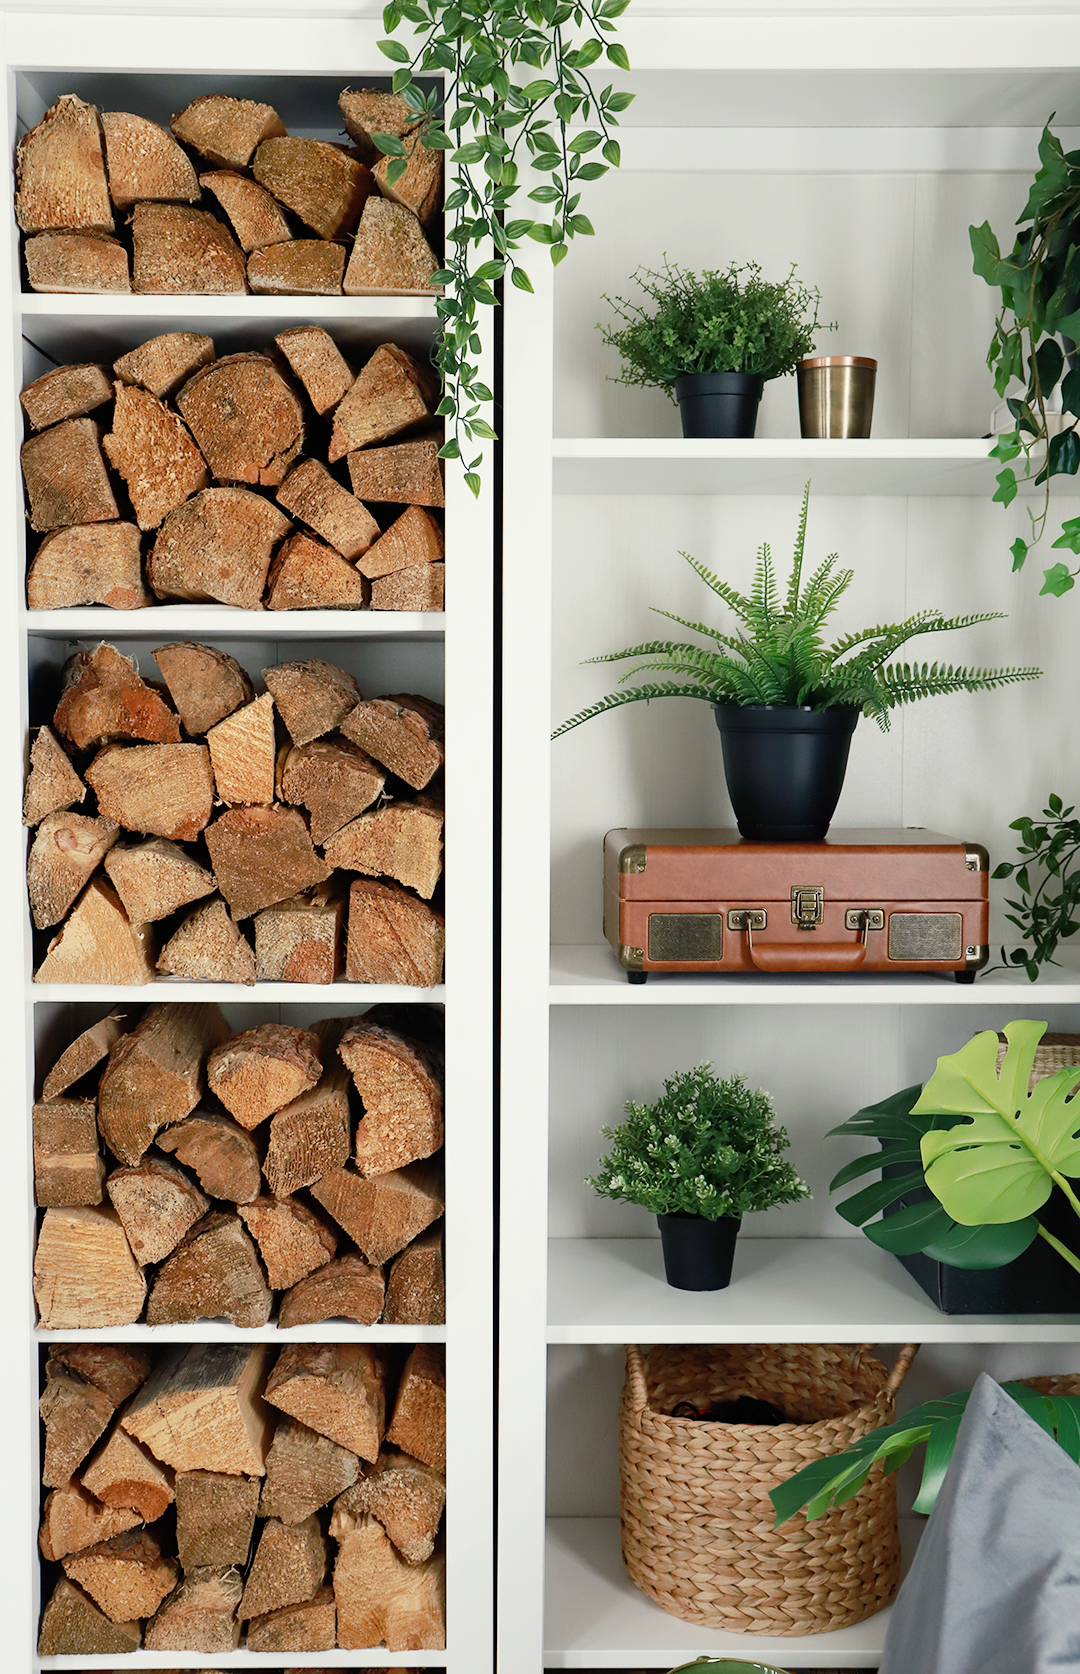
Plant heaven… you can never have too many!
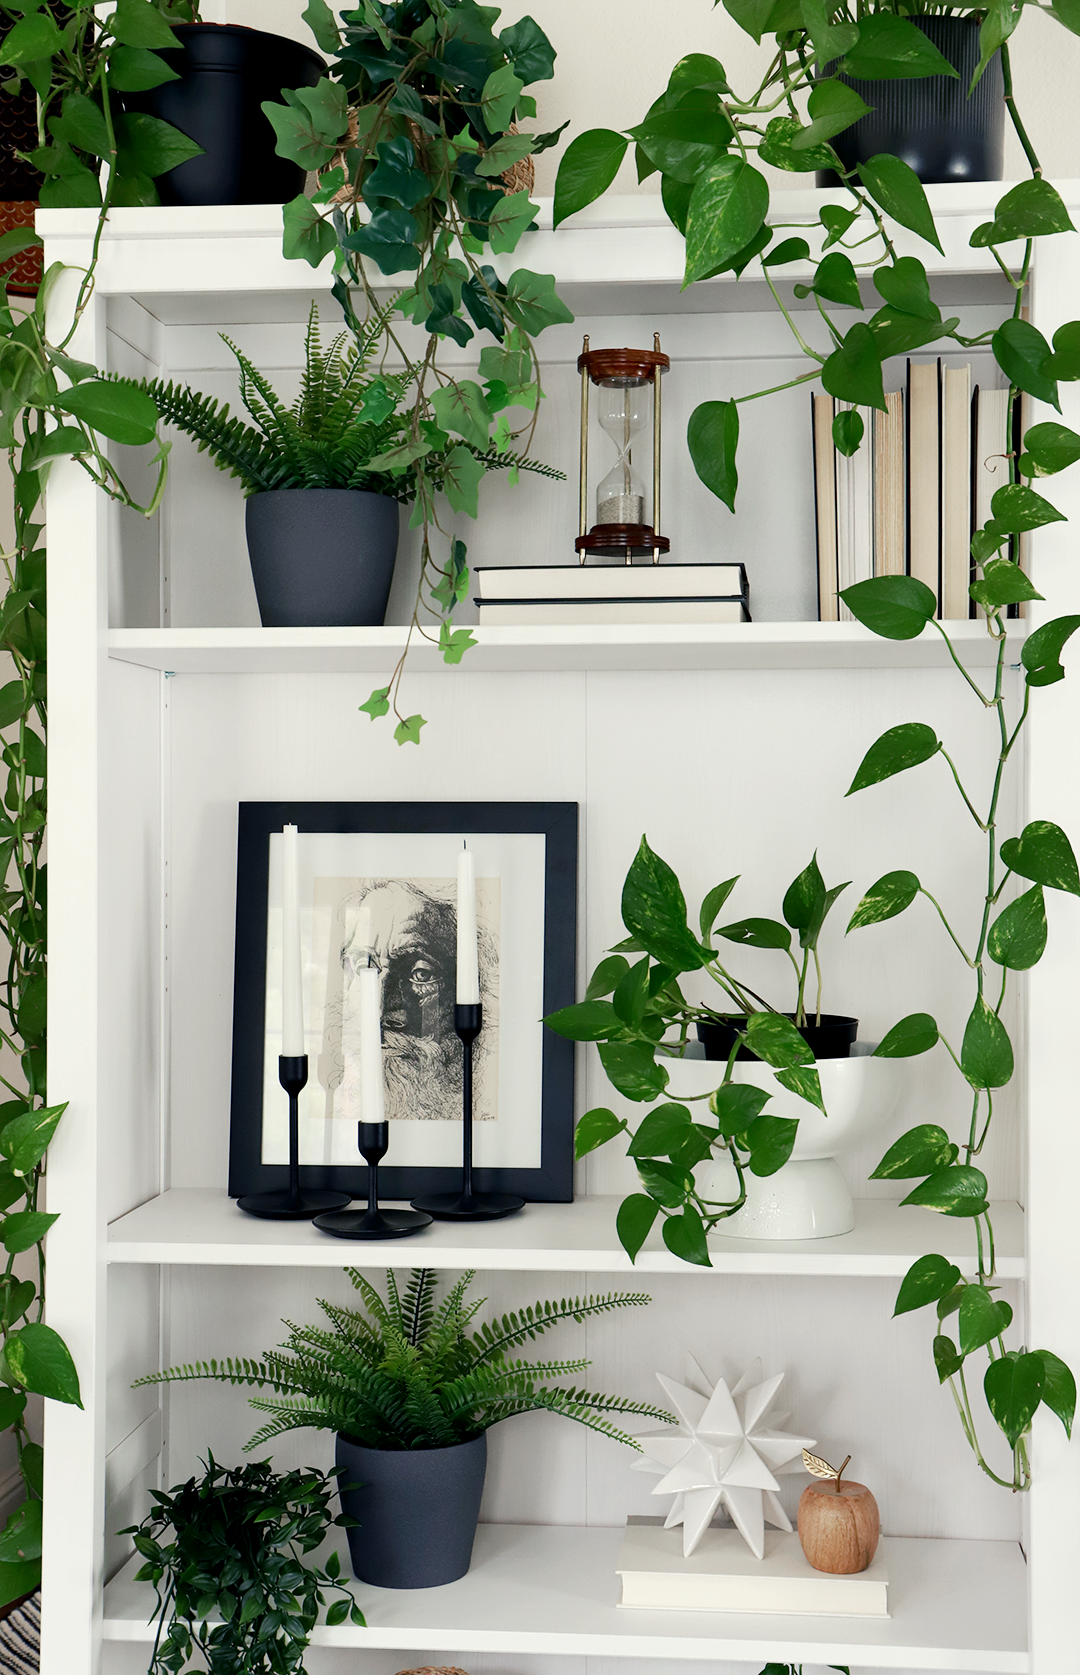

I also incorporated plants in our office.
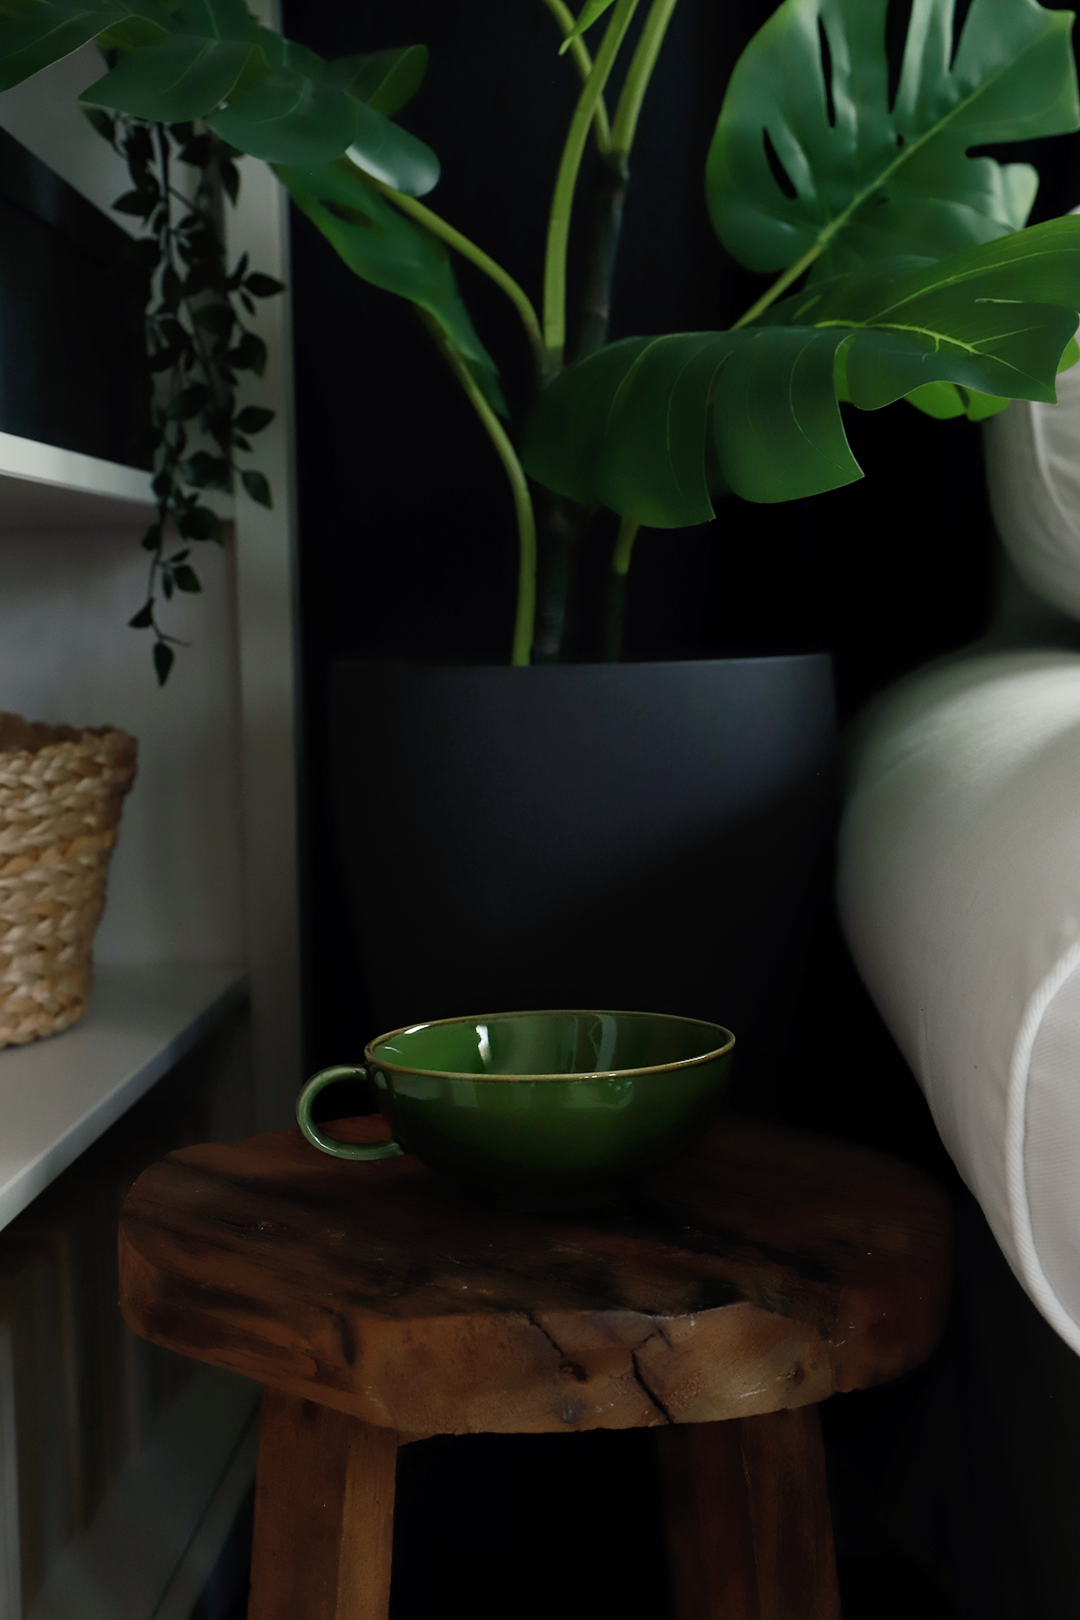
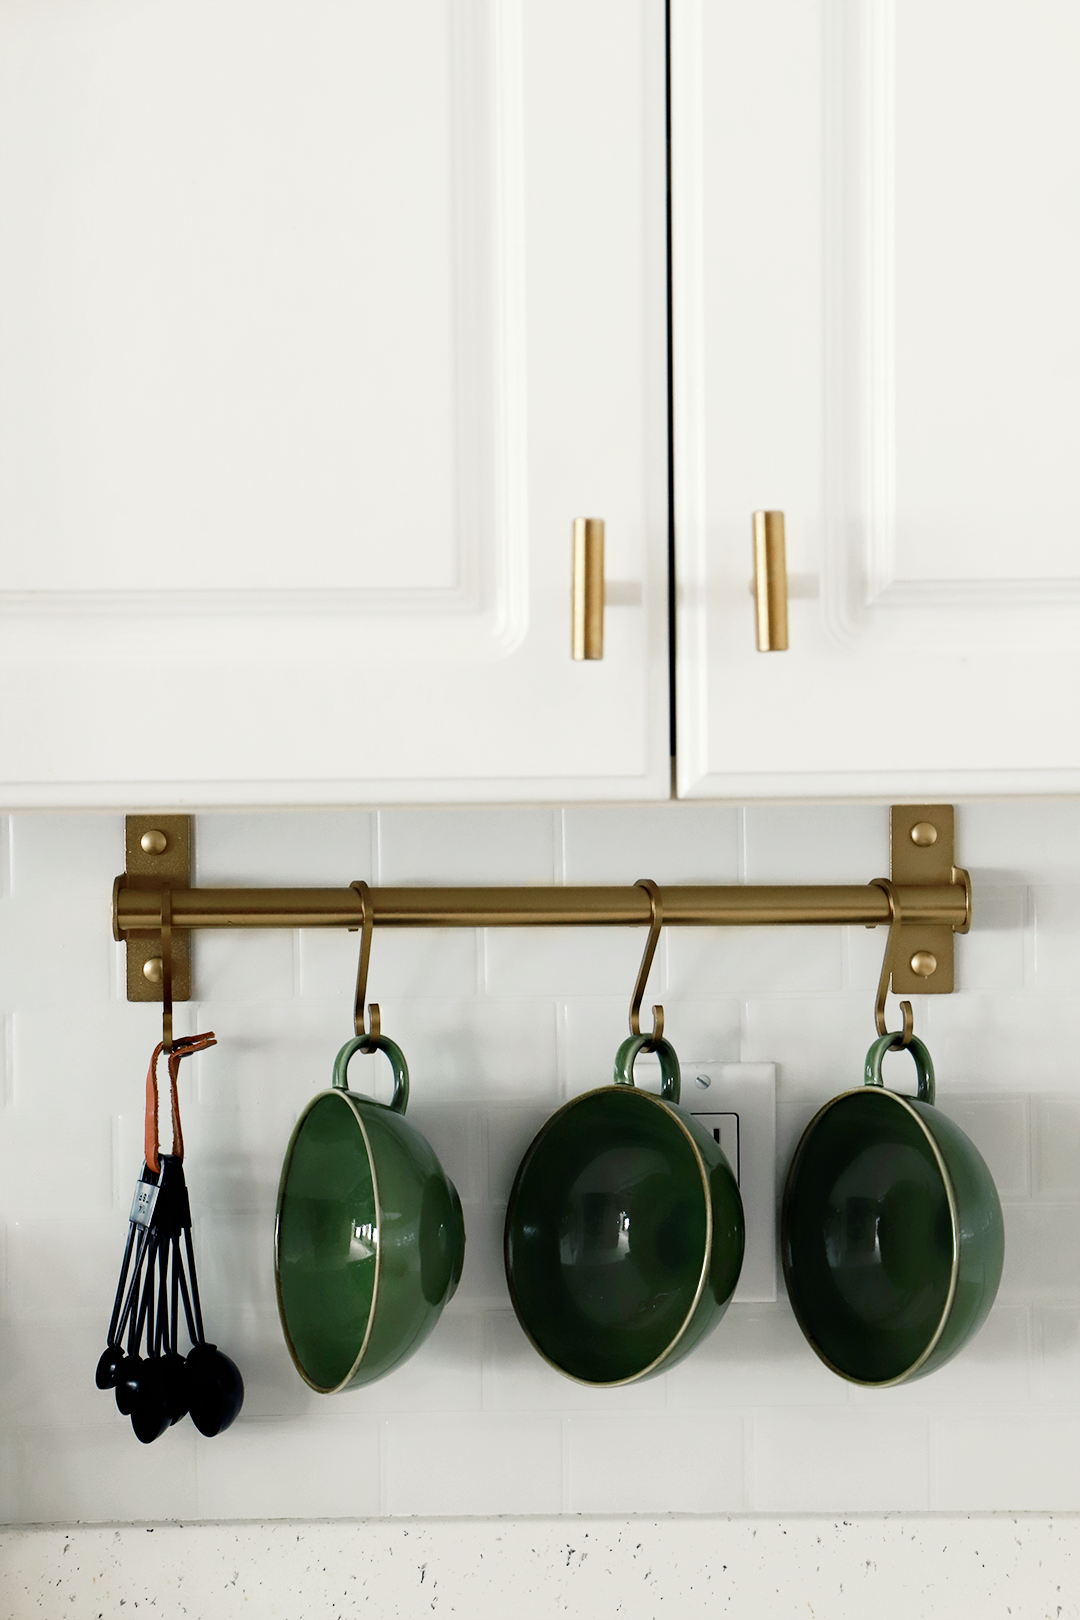
I switched out our copper pans and cups for these darling forest green cups.
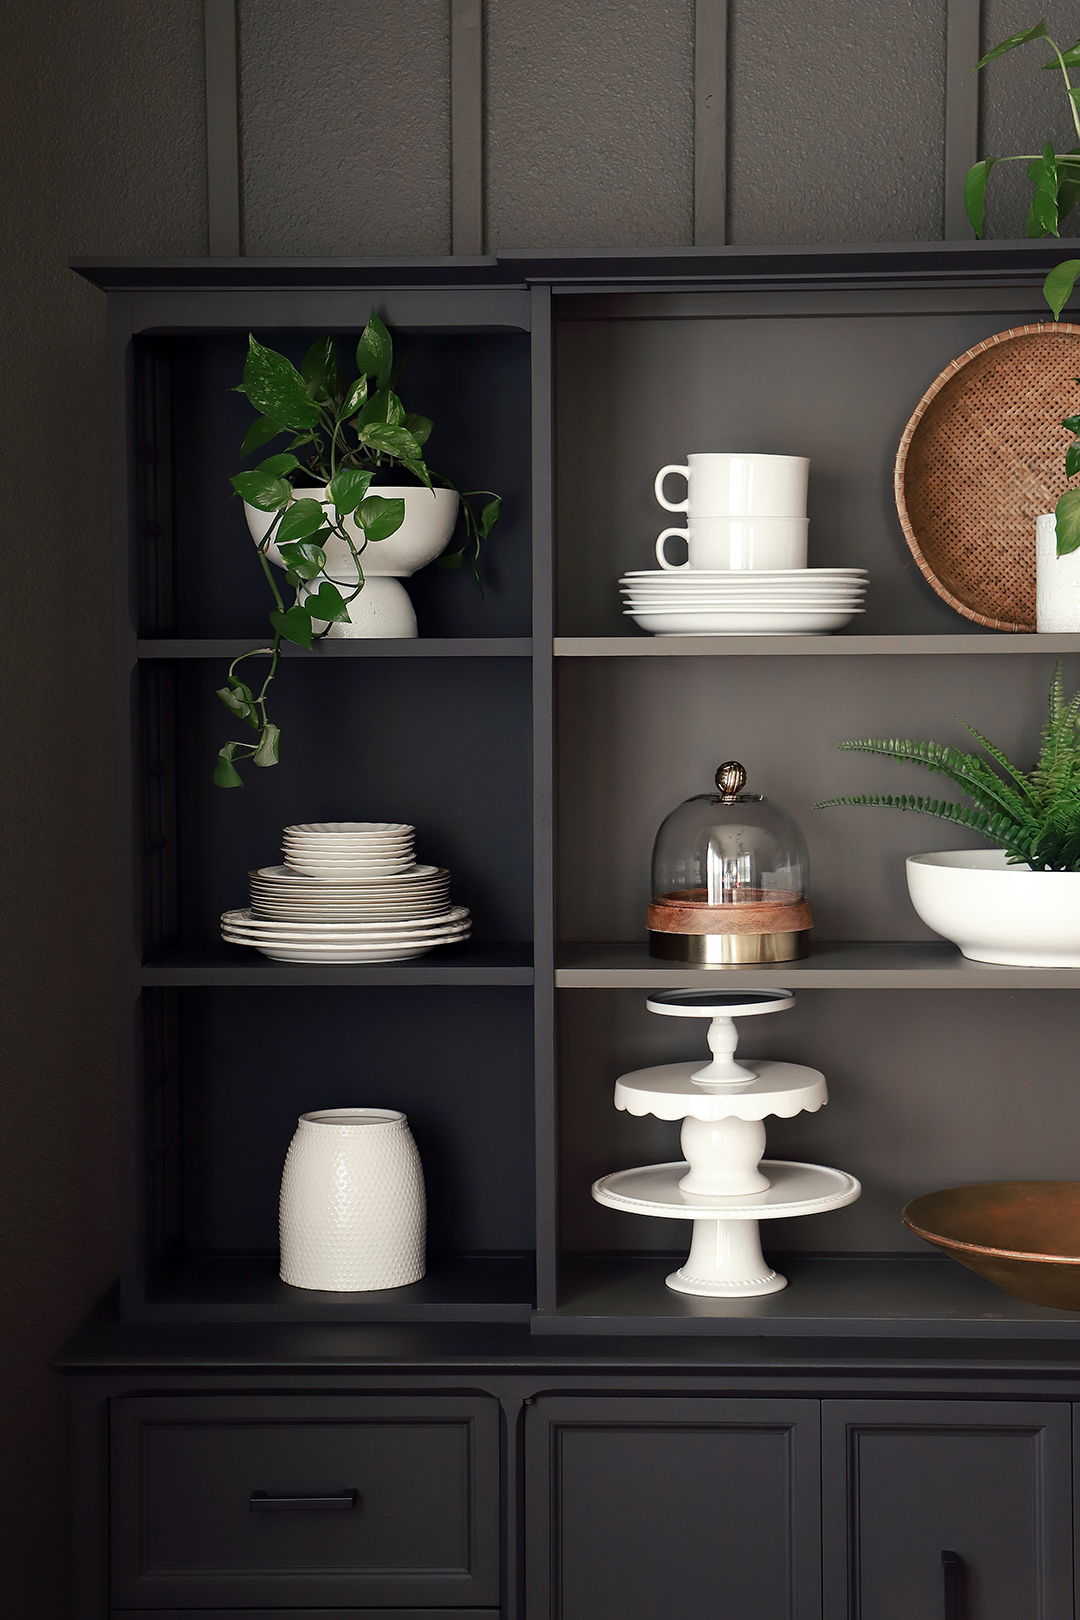
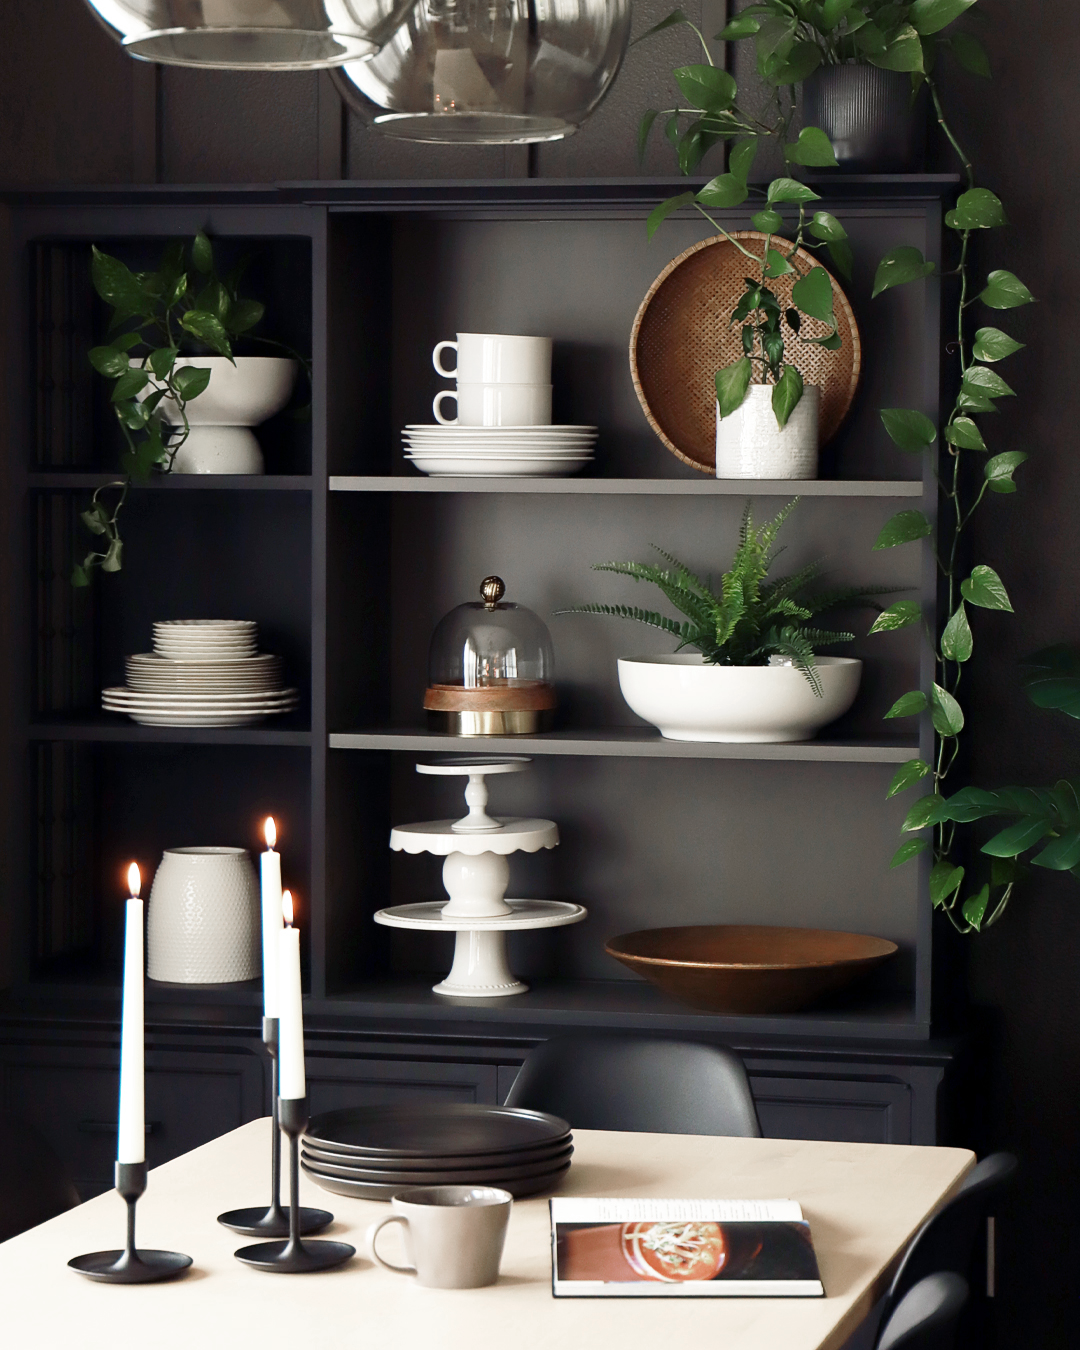
Our dining room needed some plant love, so I bought a few more for the hutch.

Wishing everyone happy summer and a huge thanks to my sweet friend Krista of The Happy Housie for hosting this amazing Summer Home Tour!

xoxo, Norma

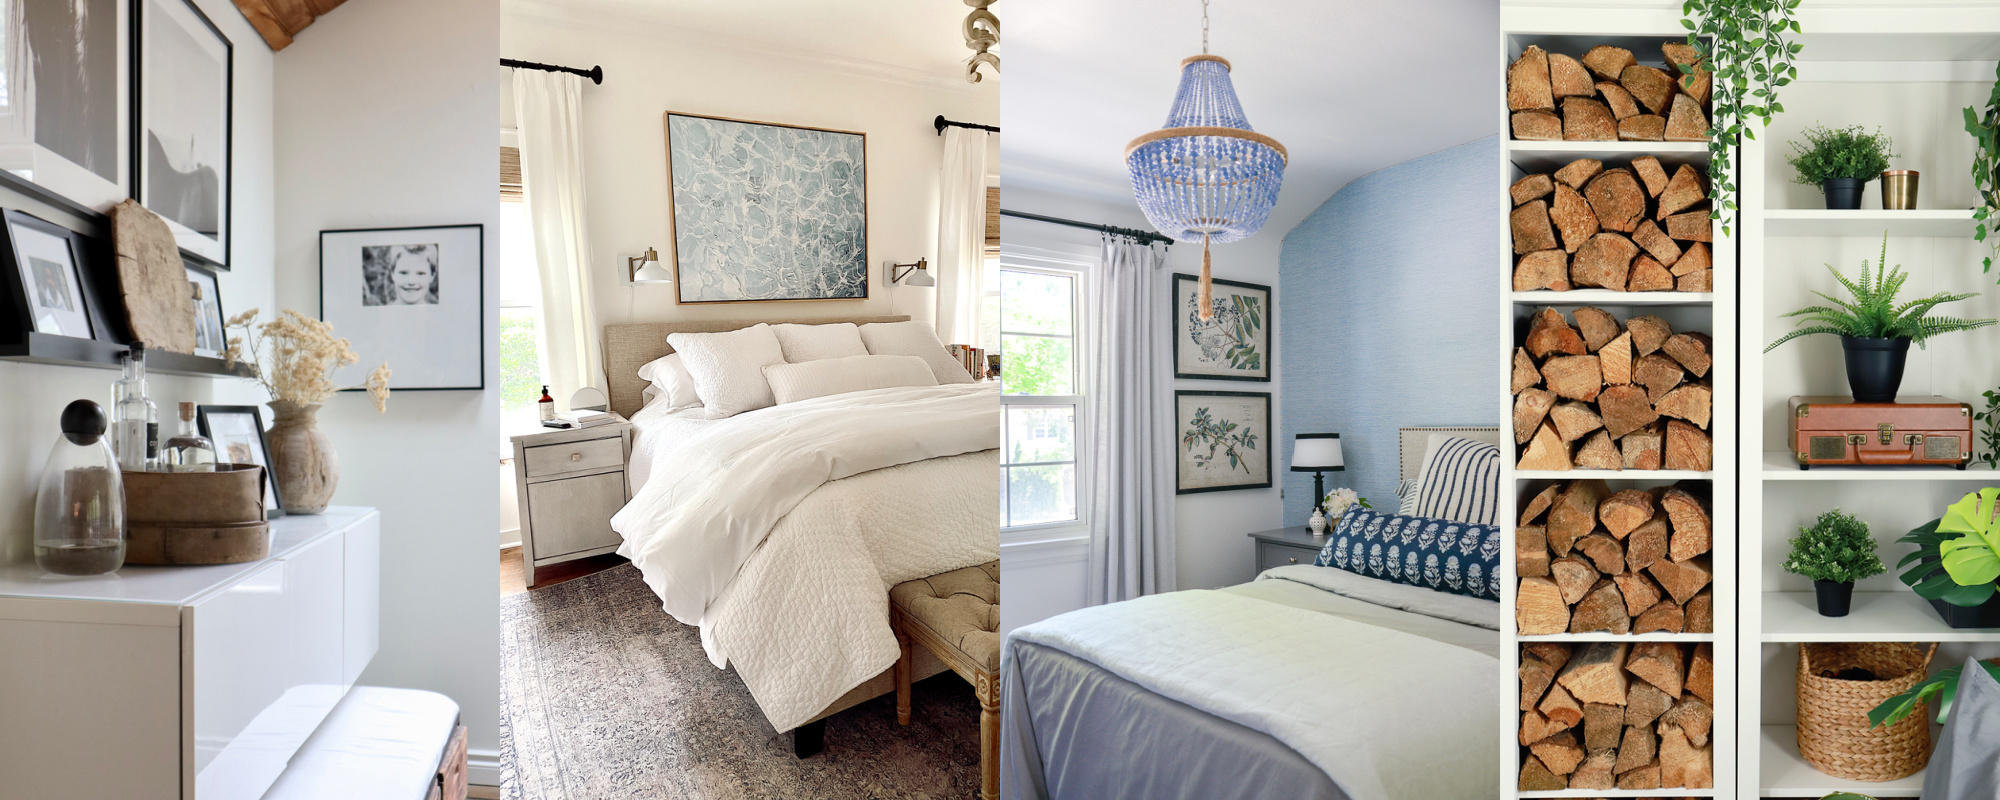
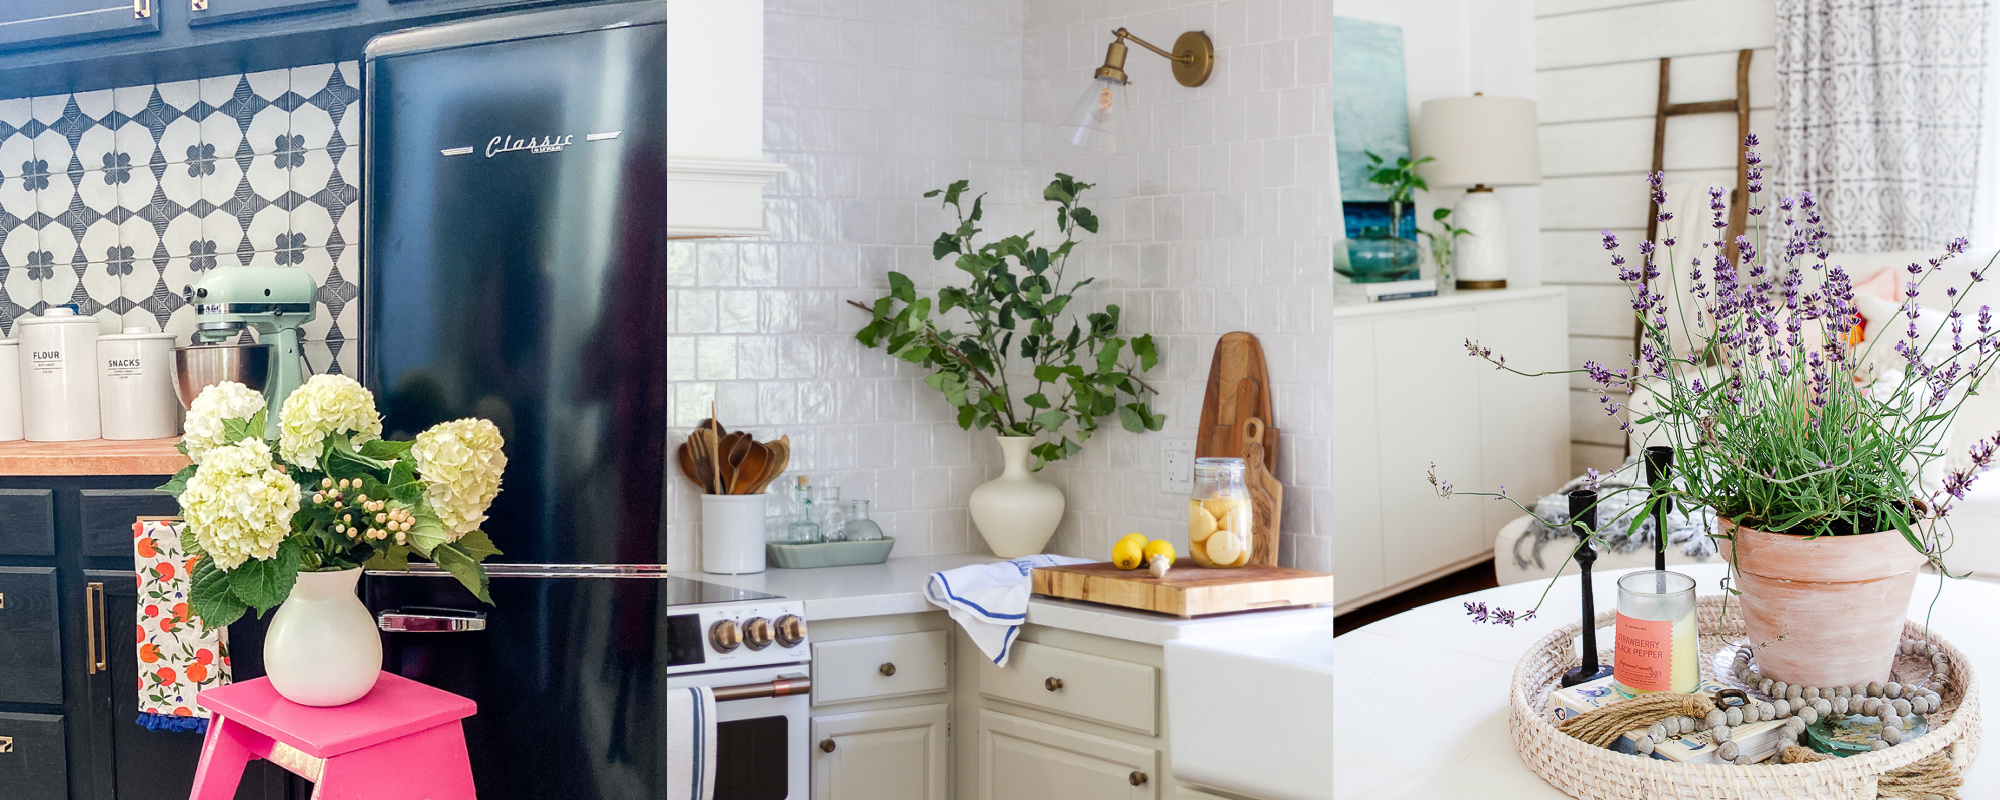
Today is Summer Home tour day! Some of my friends have joined me to share their summer decorating ideas with you. You can visit their full article by clicking on the links below the images.
![]()
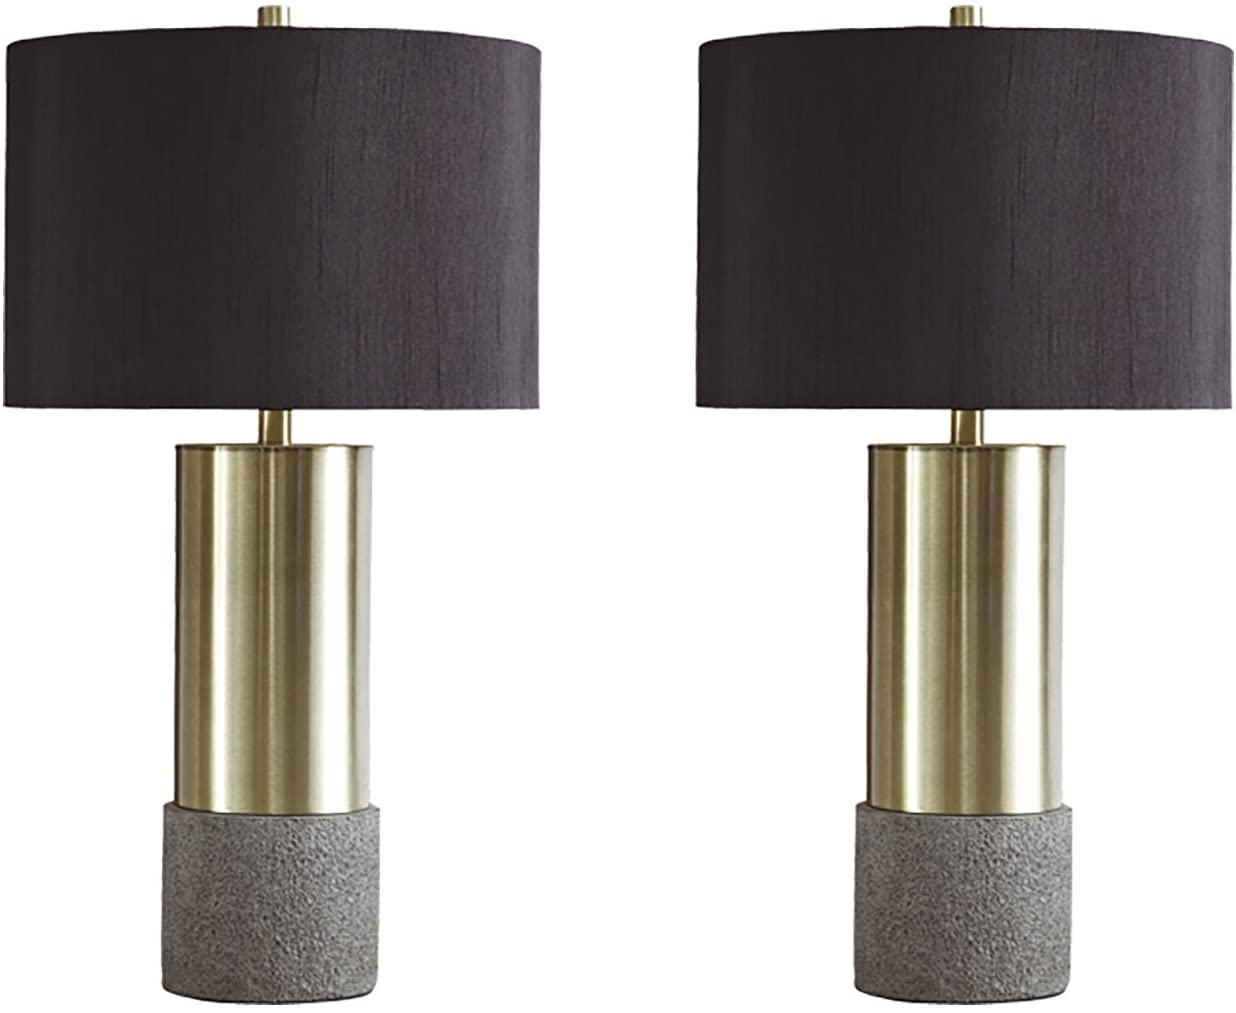
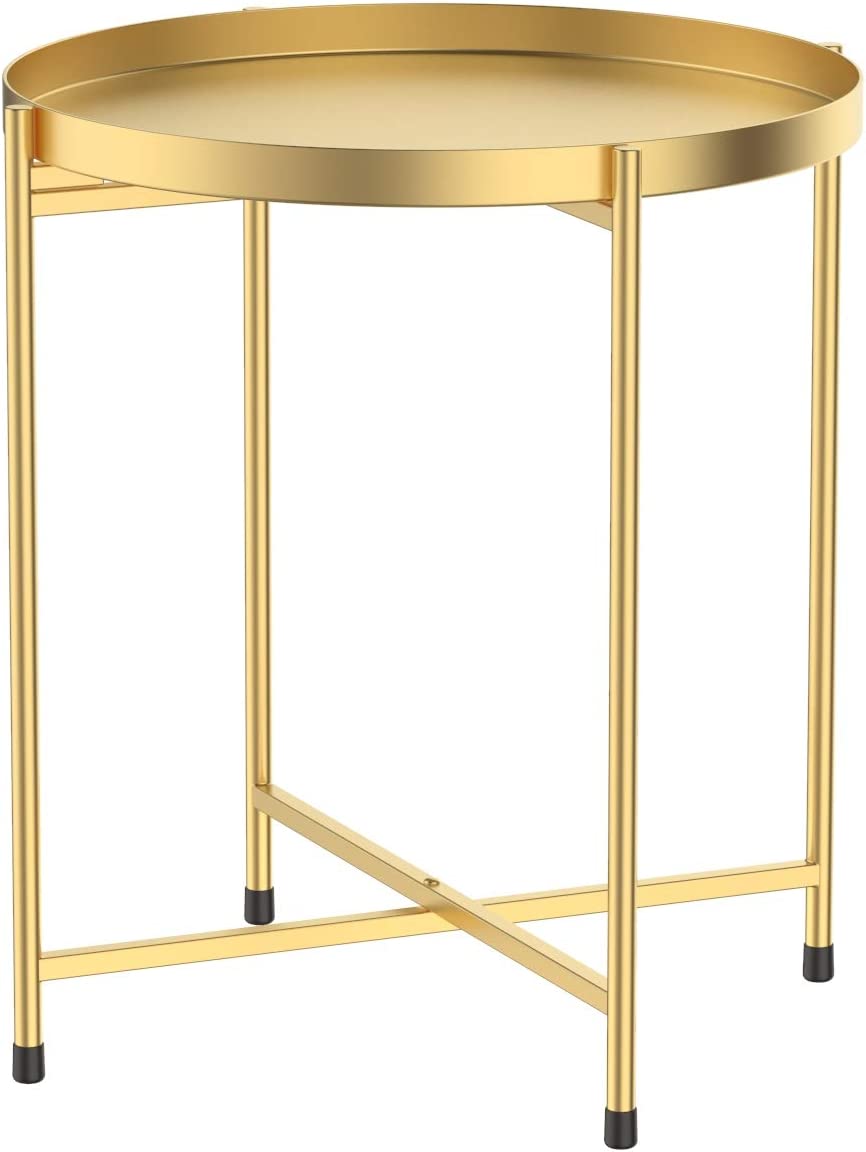
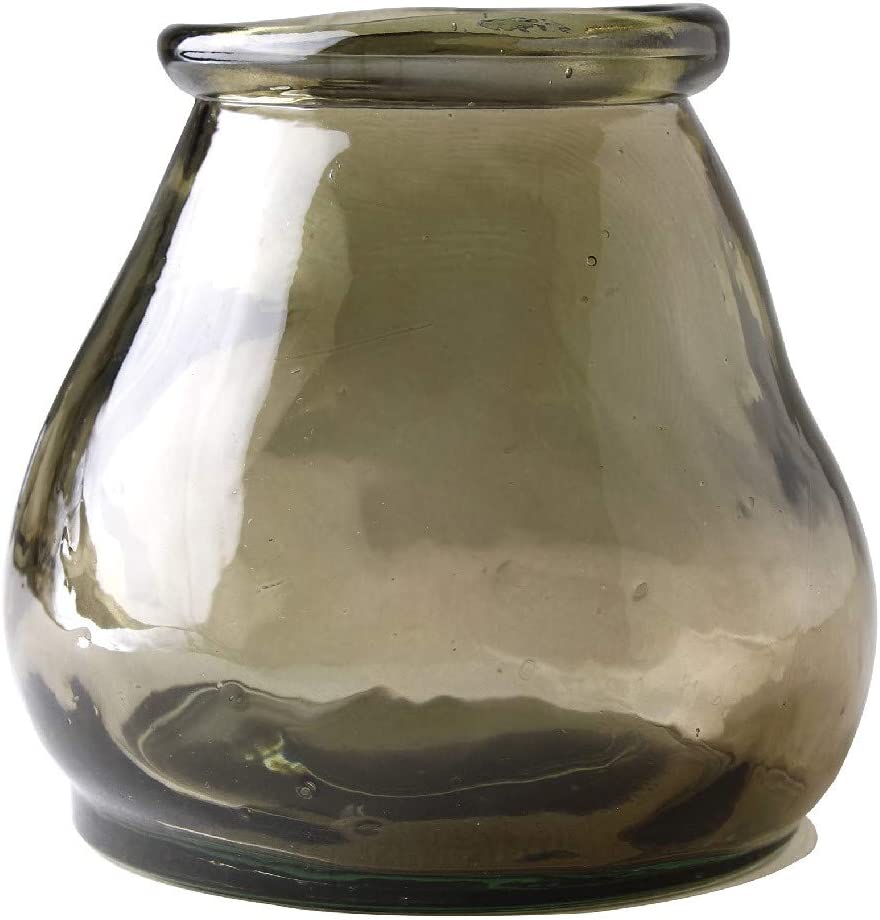
Shop the Look


Krista
So crisp and beautiful, Norma! Love all the pops of greenery with the black and white! Thanks for being part of this series:)
View CommentSummer Living Room Decor | The Happy Housie
[…] Paint Me Pink […]
View CommentMelaine Thompson
love, love, love the tones in your summer home tour! It is refreshing to see something different like this!
View Commentpaintmepink
Melaine ThompsonThank you so much Melaine! The dark moody vibes are growing on me 🙂
View CommentJOANNA
It’s all so cozy and hygge! Love it!!
View Commentpaintmepink
JOANNAYou are the best! Thanks Joanna!
View CommentCaitlin Marsden
So an amazing and impressive type of decor you’ve got there I love the way you place the rug it is so simple and beautiful but elegant and you have a warm choice of decoration so nice to look at a living room and dining room like that setup.
View Commentwesavecart
Its so interesting blog I read completely.Thats you give great home decoration products.Thank you
View Comment