Summer Peach Salad
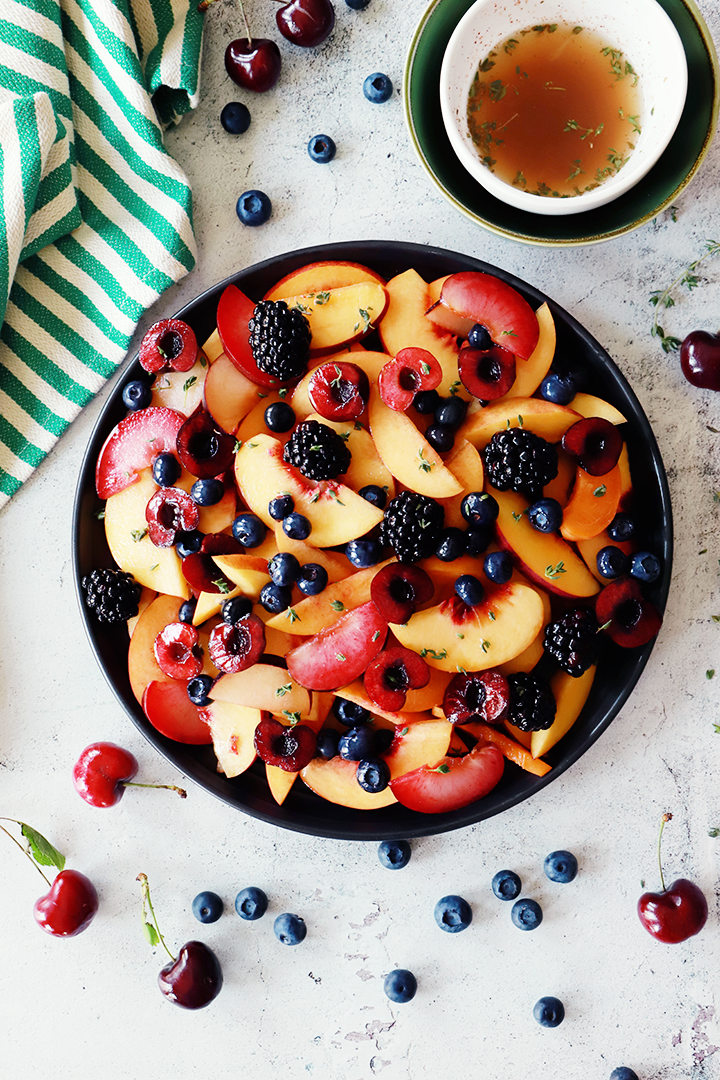
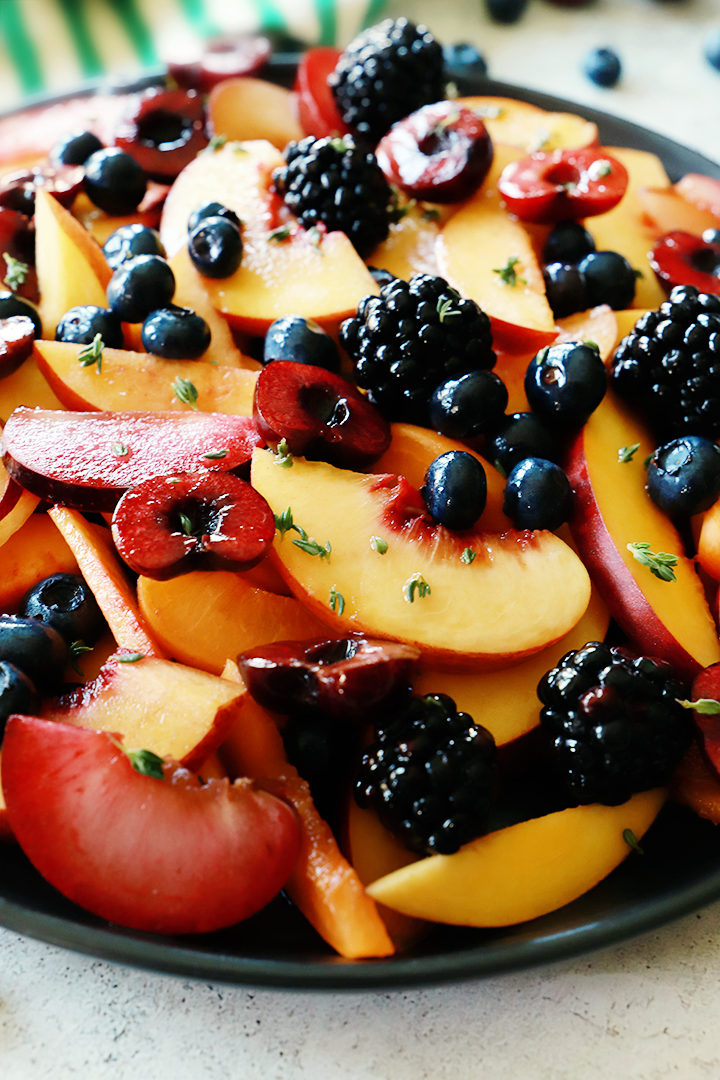
This Summer Peach Salad with honey lemon dressing is one of my favorites! It’s an incredibly refreshing, must-have side dish that’s made with fresh delicious peaches and a simple dressing to compliment it. This is sure to be a crowd favorite!
We have been having such a great summer, no traveling just enjoying the beach and barbecuing in our backyard. We needed a summer like this one… slow-paced and relaxing. We’ve been a little fruit crazy this summer as well which led me to create different variations of fruit salads. This one is by far my favorite.
If you are a peach lover this peach salad is for you!
You can make it in no time and the aroma of the sweet peaches and fresh fruit will have everyone wanting for more. Even your kids will enjoy it.
To elevate this peach salad all it takes is a little honey and lemon to really make this salad sing. And just when you think it can’t get any better the honey lemon dressing also makes this peach salad truly shine (literally and figuratively)!
How to Make Peach Salad
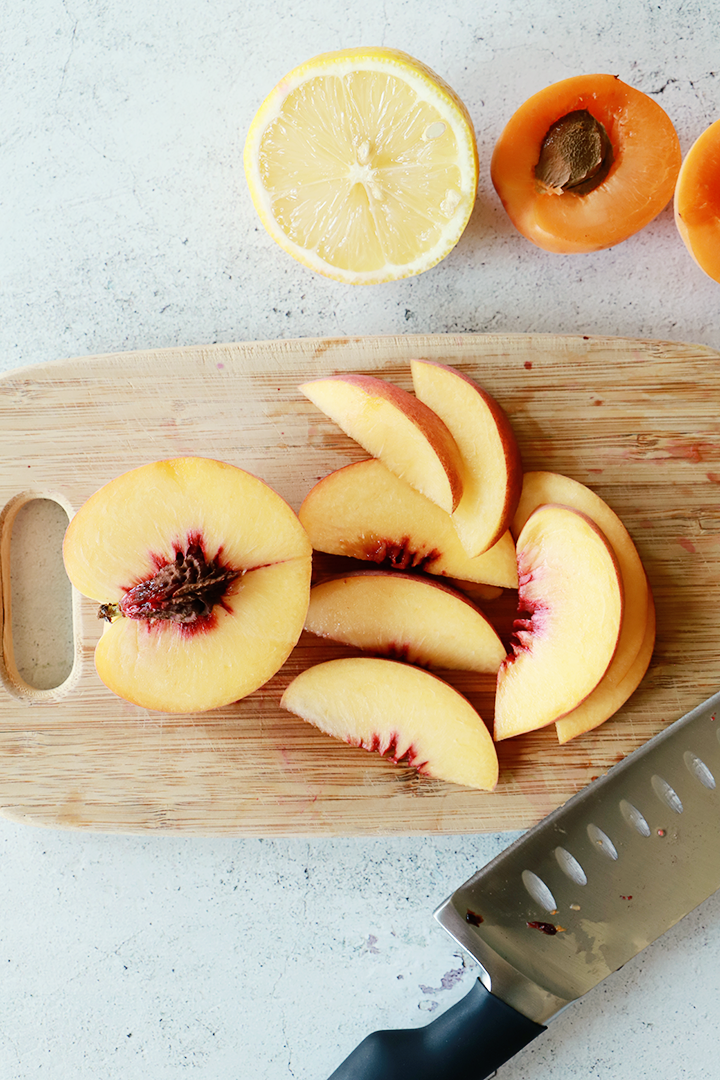
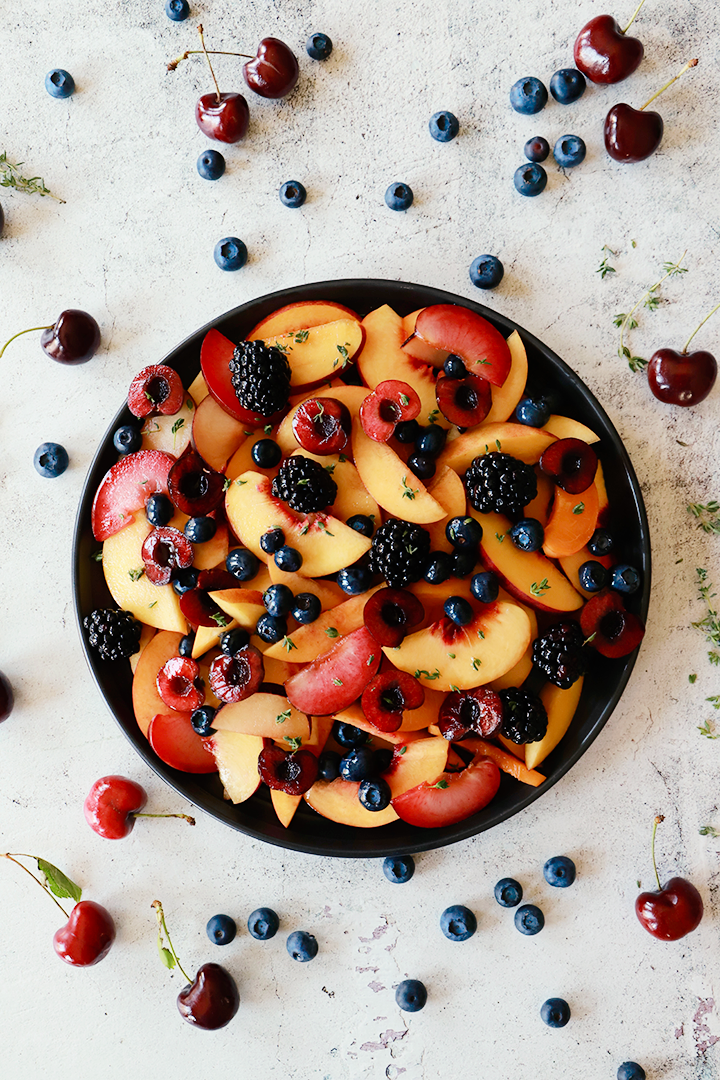
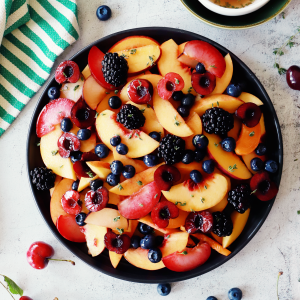
- Prepare fruit: Prepare all fruit by slicing thinly. Be sure to remove pits from cherries and add them to a large mixing bowl.
- Making the dressing: In a separate small bowl, whisk together the lemon juice, honey, salt, and thyme until well combined.
- Toss fruit with dressing: Pour dressing over fruit and gently mix until fruit is evenly coated.
NOTES
- Feel free to use any combination of fresh fruit – you can keep it super simple with just one or two, or use a few different types.
- If you don’t like (or don’t have) any fresh thyme, feel free to sub with mint or basil.
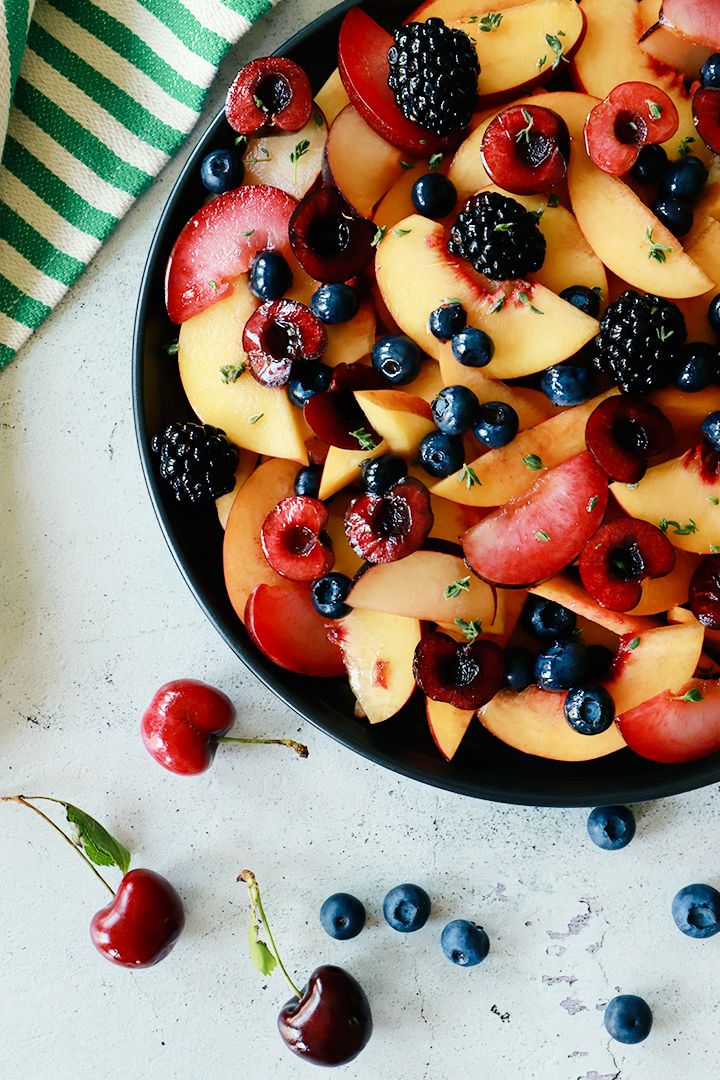
You can certainly enjoy the peach salad as is, but a sweet and tangy dressing will elevate the taste even further. With a little honey and lemon juice, plus fresh thyme, the citrus oils add a pleasant aroma to the dressing. If desired, you can substitute with lime juice or orange juice for a milder tartness. This dressing will glaze the fruit and infuse the flavors together.
If you are looking for more delicious summer fruit recipes make sure to scroll down to the end of the post where you will find more recipes by my talented friends. Or you can simply pin it for later!

Wishing everyone a wonderful Summer! Stay cool and enjoy the Summer Fruit Recipes below!
xo -Norma
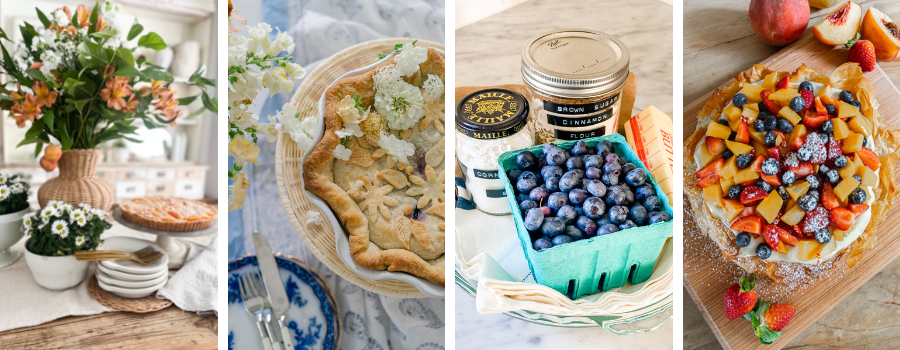
Easy and Tasty Summer Peach Tart // Robyn’s French Nest
Wild Maine Blueberry Pie // Finding Lovely
Bluberry Crumble Kit for Overnight/Weekend Stays // Most Lovely Things
Simple Summer Fruit Crostata With Lemon Cream Cheese Filling // Twelve On Main
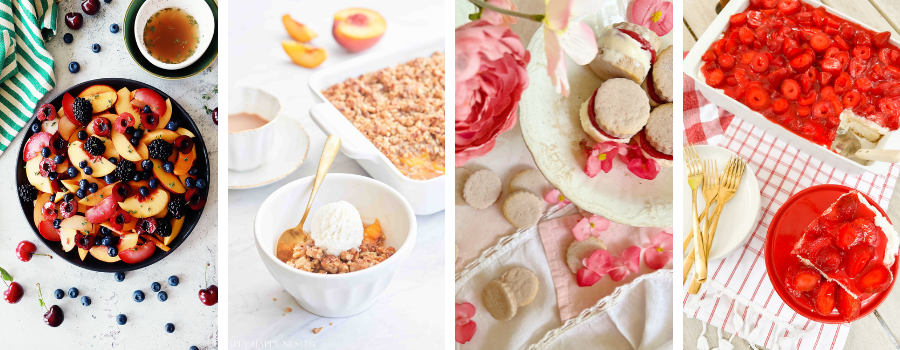
Summer Peach Salad // Paint Me Pink
Peach Crisp with Fresh Peaches // Happy Happy Nester
Raspberry Strawberry Shortbread Cookies // My 100 Year Old Home
Fresh Strawberrry Cream Cheese Cake // Tatertots & Jello

Mini Tri Berry Trifle // Thistlewood Farms
Easy & Delicious Red Wine Sangria // Maison de Cinq
grilled stone fruit and cheese pairings // My Sweet Savannah
Easy Skillet Peach Crumble // Inspiration For Moms
Summer Peach Salad
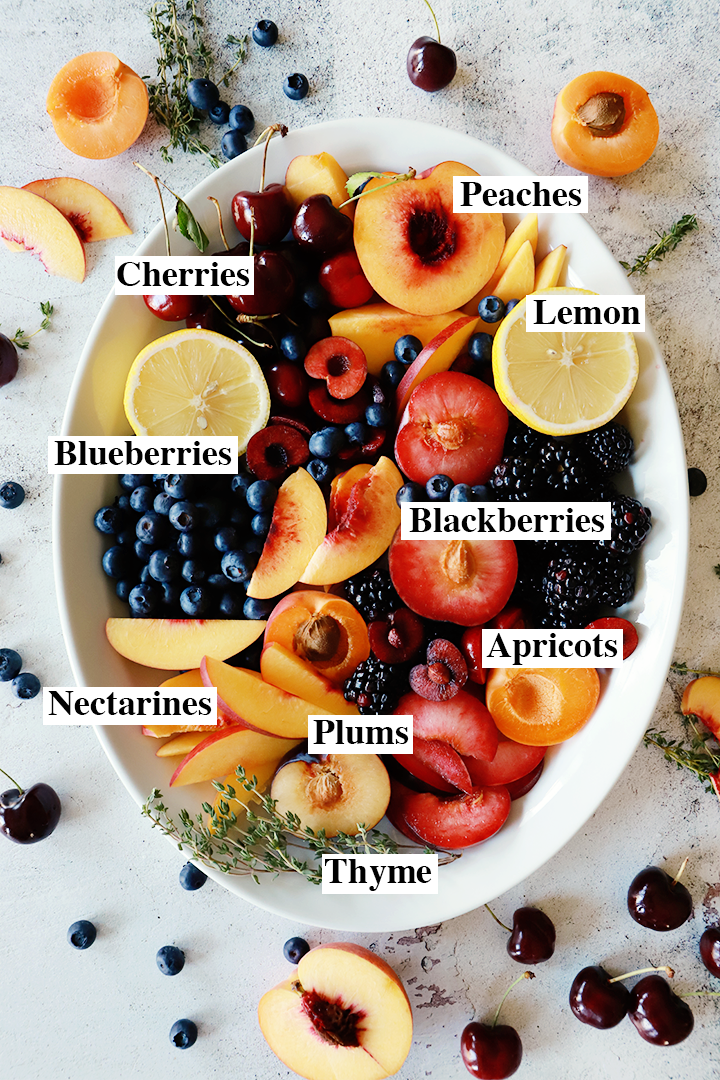
Ingredients
- 3 cups peaches
- 2 cups nectarines
- 1 cup plums
- 1 cup apricots
- 2 cups blueberries
- 1 cup blackberries
- 1 1/2 cups cherries
Honey Lemon Dressing
- 1/2 cup fresh lemon juice
- 2 tbsp honey
- 1 tbsp fresh thyme, finely chopped
- pinch of salt
Instructions
- Prepare all fruit by slicing thinly. Be sure to remove pits from cherries.
- In a large mixing bowl add all fruit.
- In a separate small bowl, whisk together the lemon juice, honey, salt, and thyme until well combined.
- Pour dressing over fruit and gently mix until fruit is coated. Enjoy right away or chill for 1 hour in the refrigerator before serving.
Notes
- Feel free to use any combination of fresh fruit – you can keep it super simple with just one or two, or use a few different types.
- If you don't like (or don't have) any fresh thyme, feel free to sub with mint or basil.
- Honey – I don’t recommend substitutions for this unless there’s an allergy (if so I’d maybe try maple syrup or brown rice syrup).
- You can substitute the lemon juice with lime juice or orange juice for a milder tartness.
Annie Diamond

View CommentEat with your eyes! That was my first thought looking at this colorful fruit salad! Simply gorgeous!
paintmepink
Annie DiamondThank you so much Annie! I just love summer fruit!!
View CommentKariAnne Wood
This looks amazing! Your photography is stunning! So fun to be joining you for all the summer recipes today!
Happy day!
View CommentKariAnne
Robyn Huff
Such a great idea. This looks so yummy!!! And healthy too! I love peaches!
View CommentSheila
Simple and oh-so-beautiful! I love peaches and can’t wait to try this Norma!
Happy Summer to you!
Sheila
View Commentxo